Project 4: (Auto)Stitching of Photo Mosaics

Roshan Parekh

Project Report


Introduction

In this project, I explored how to perform image recitification, and create panoramas by stitching photos together, both manually and automatically.


Shoot the Photos

I took the pictures in this report with an iPhone 13 Pro. I used AF/AE lock to limit lighting changes in order to make a seamless transition between photos of a moasic. However, for the Ghirardelli picture, I intentially wanted to see how would a lighting difference look in a mosaic.


Recover Homographies

To recover the homography that will be used to warp the entire image, I began by plotting corresponding points between the images in question. These corresponding points denoted key features that are shared between the images.

Homographies can be defined by 8 points, or 4 pairs of correspondences. However, we can use more than 4 pairs of correspondences to solve for the homography by using least squares. Least squares minimizes the error that is caused by slightly misaligned correspondences; thus, giving us a better solution.

The following is how I mathematically calculated the homography. \[ \begin{bmatrix} x_1 & y_1 & 1 & 0 & 0 & 0 & -x'_1 x_1 & -x'_1 y_1 \\ 0 & 0 & 0 & x_1 & y_1 & 1 & -y'_1 x_1 & -y'_1 y_1 \\ x_2 & y_2 & 1 & 0 & 0 & 0 & -x'_2 x_2 & -x'_2 y_2 \\ 0 & 0 & 0 & x_2 & y_2 & 1 & -y'_2 x_2 & -y'_2 y_2 \\ & & & & \vdots\end{bmatrix} \begin{bmatrix} a \\ b \\ c \\ d \\ e \\ f \\ g \\ h \end{bmatrix} = \begin{bmatrix} x'_1 \\ y'_1 \\ x'_2 \\ y'_2 \\ \vdots \end{bmatrix} \]
Using least squares yield us the variables a through h. Allowing us to get to the following:
\[ H = \begin{bmatrix} a & b & c \\ d & e & f \\ g & h & 1 \end{bmatrix} \]
Now we can use the recovered homography, and warp the entire image.
\[ \begin{bmatrix} x' \\ y' \\ w \end{bmatrix} = \begin{bmatrix} h_1 & h_2 & h_3 \\ h_4 & h_5 & h_6 \\ h_7 & h_8 & 1 \end{bmatrix} \begin{bmatrix} x \\ y \\ 1 \end{bmatrix} \]
It is important to note to divide the result by w to recover the transformed coordinates.


Image Rectification

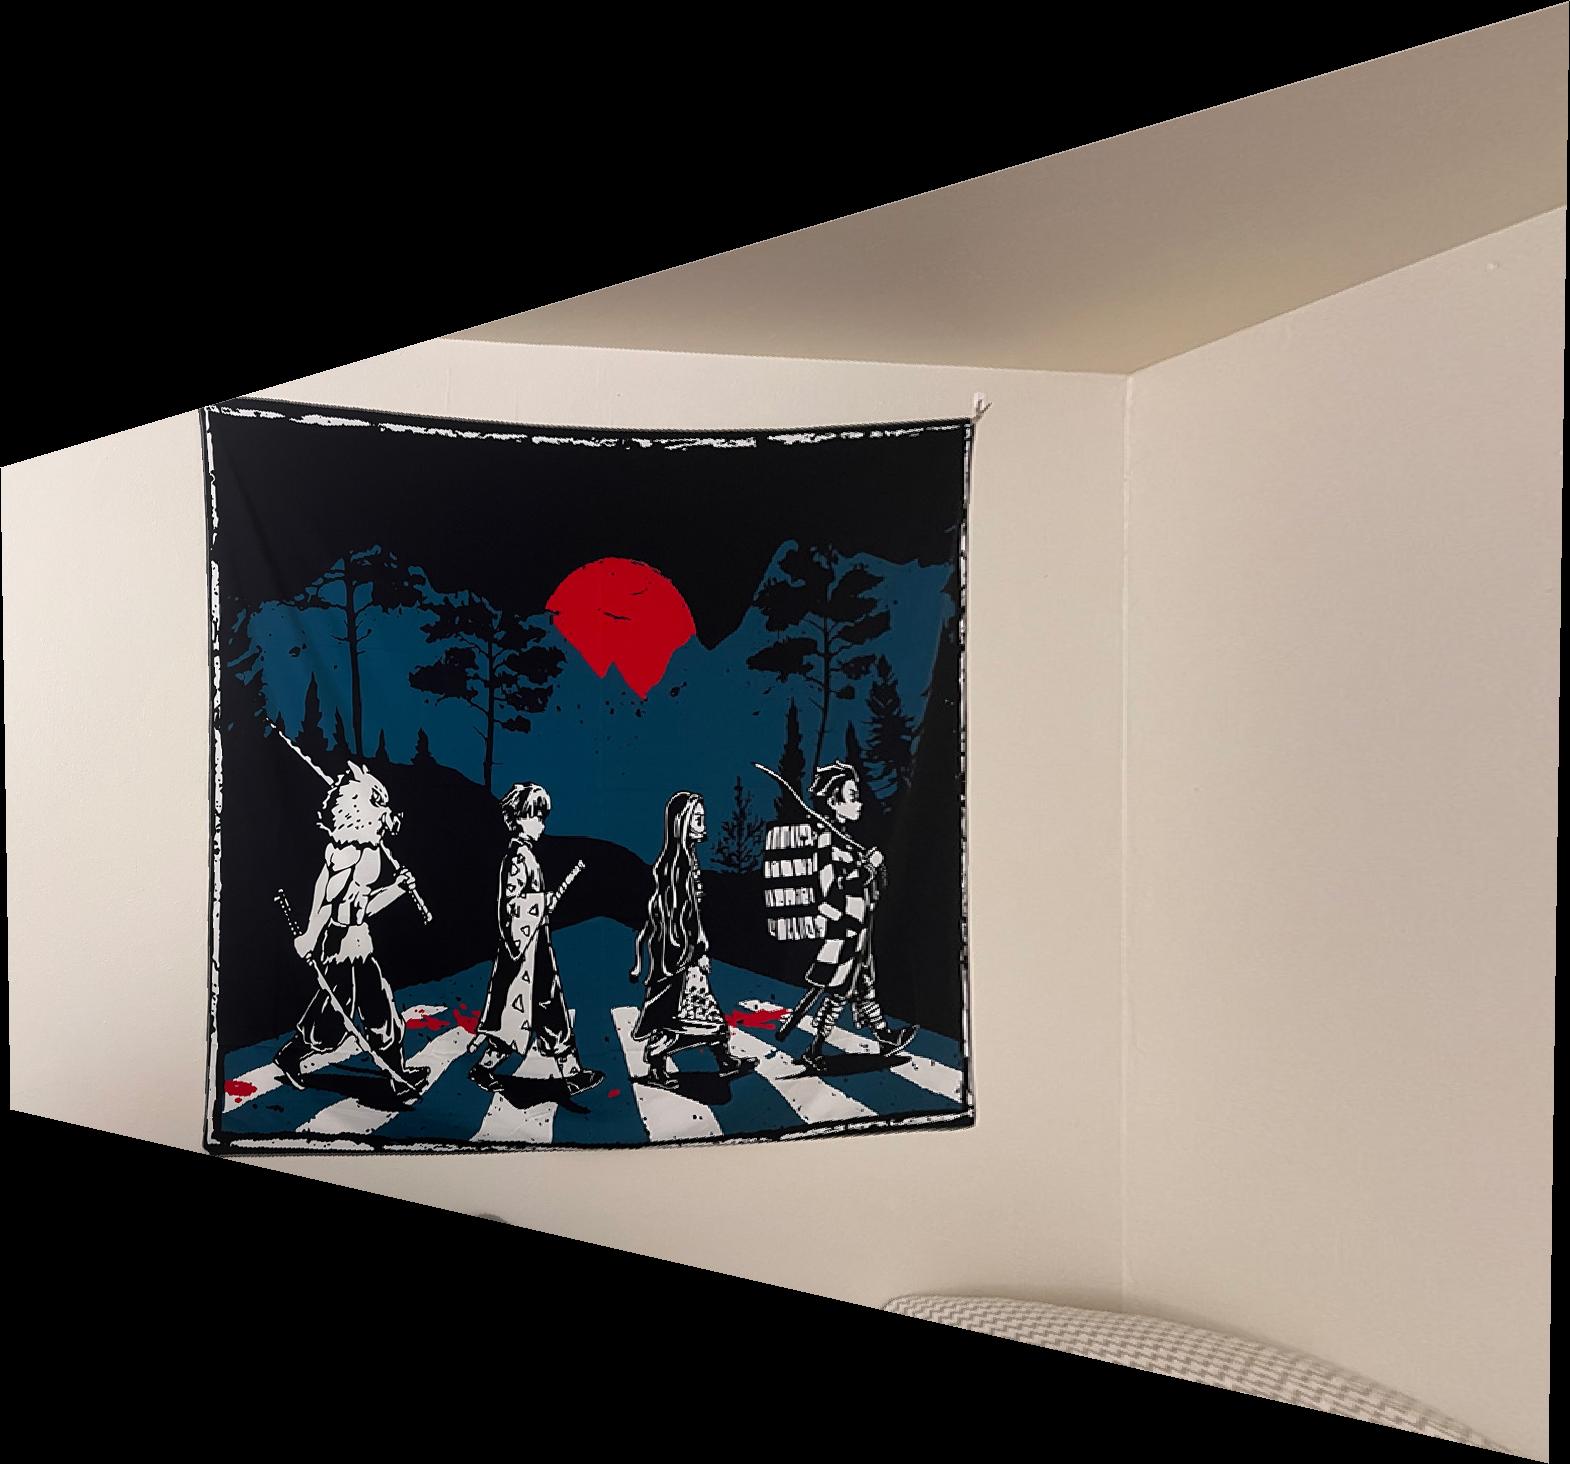
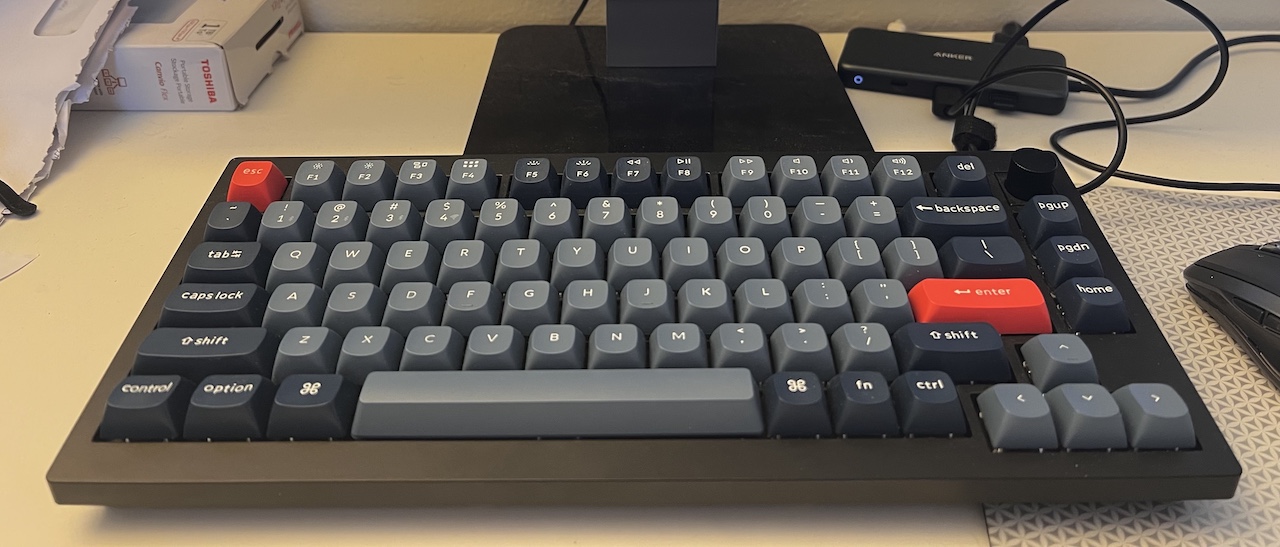
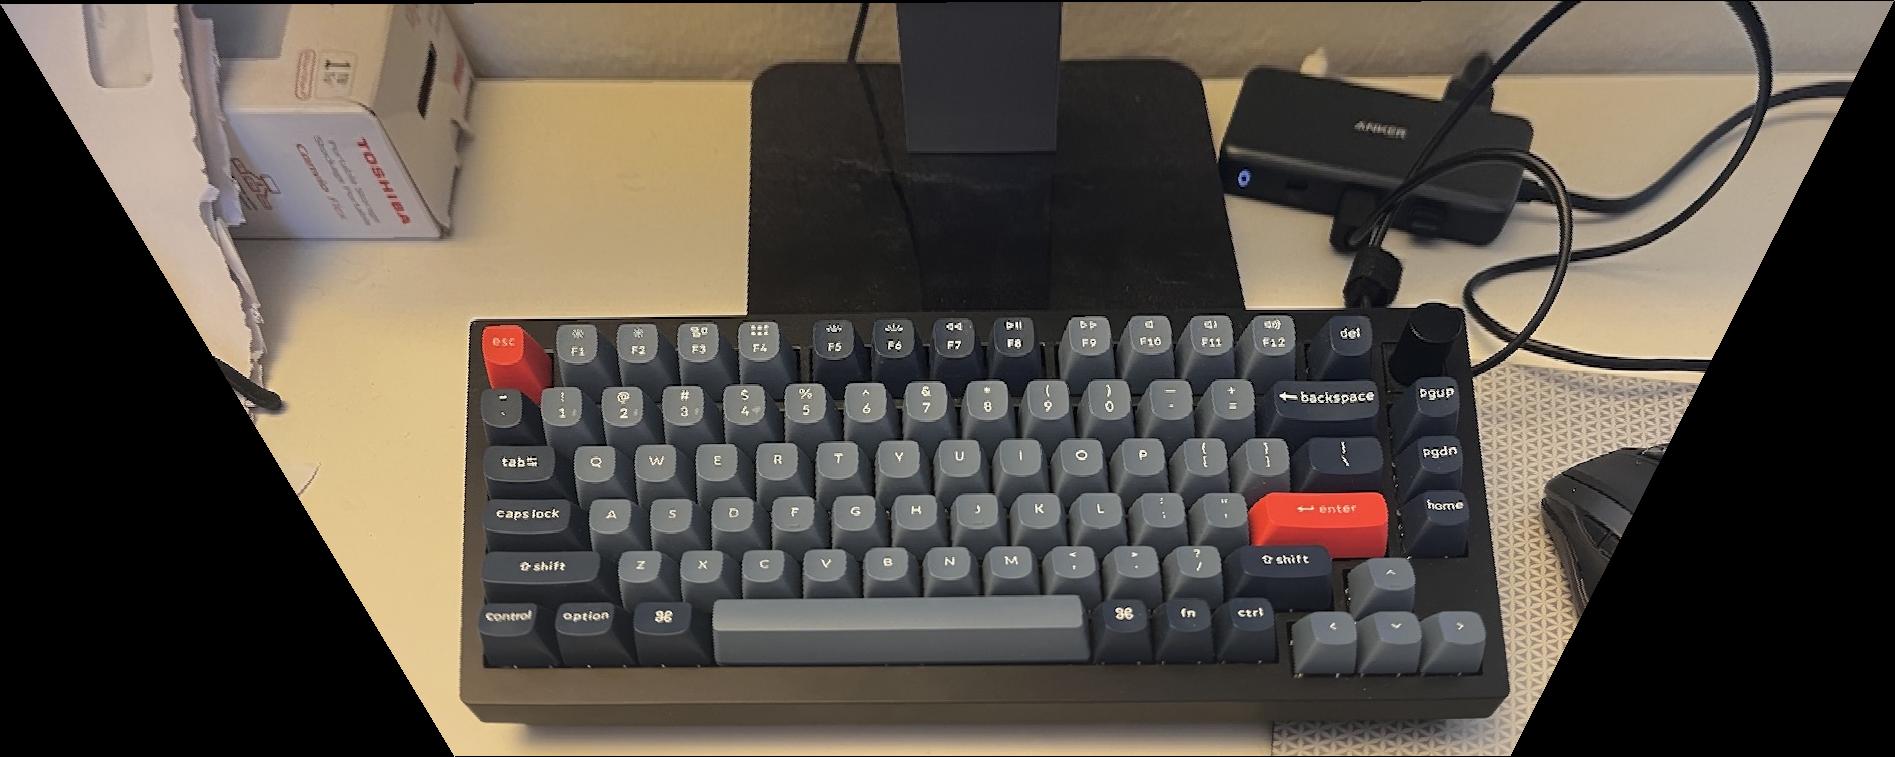
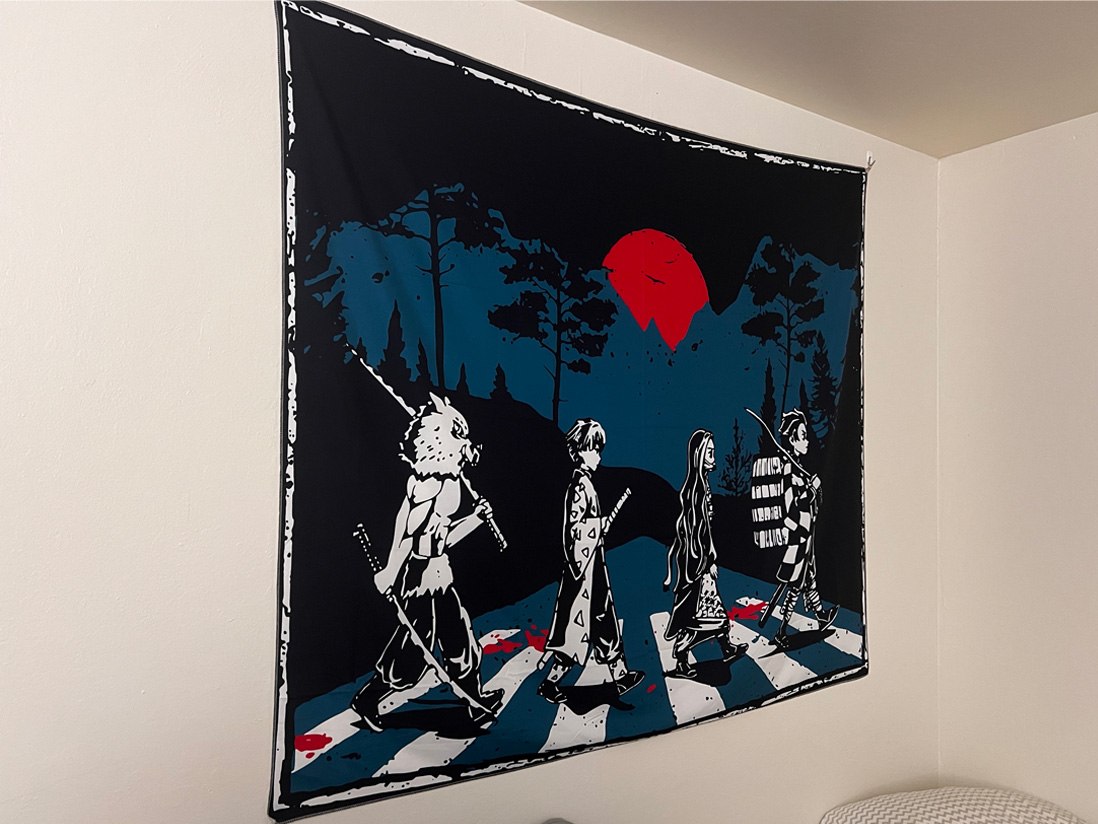
An applicaton of applying homographies, or tranforming an image with a perspective warp, is to rectify an image, which has wide use throughout computer vision and photography, such as creating panoramas.
Blending the Images into a Mosaic

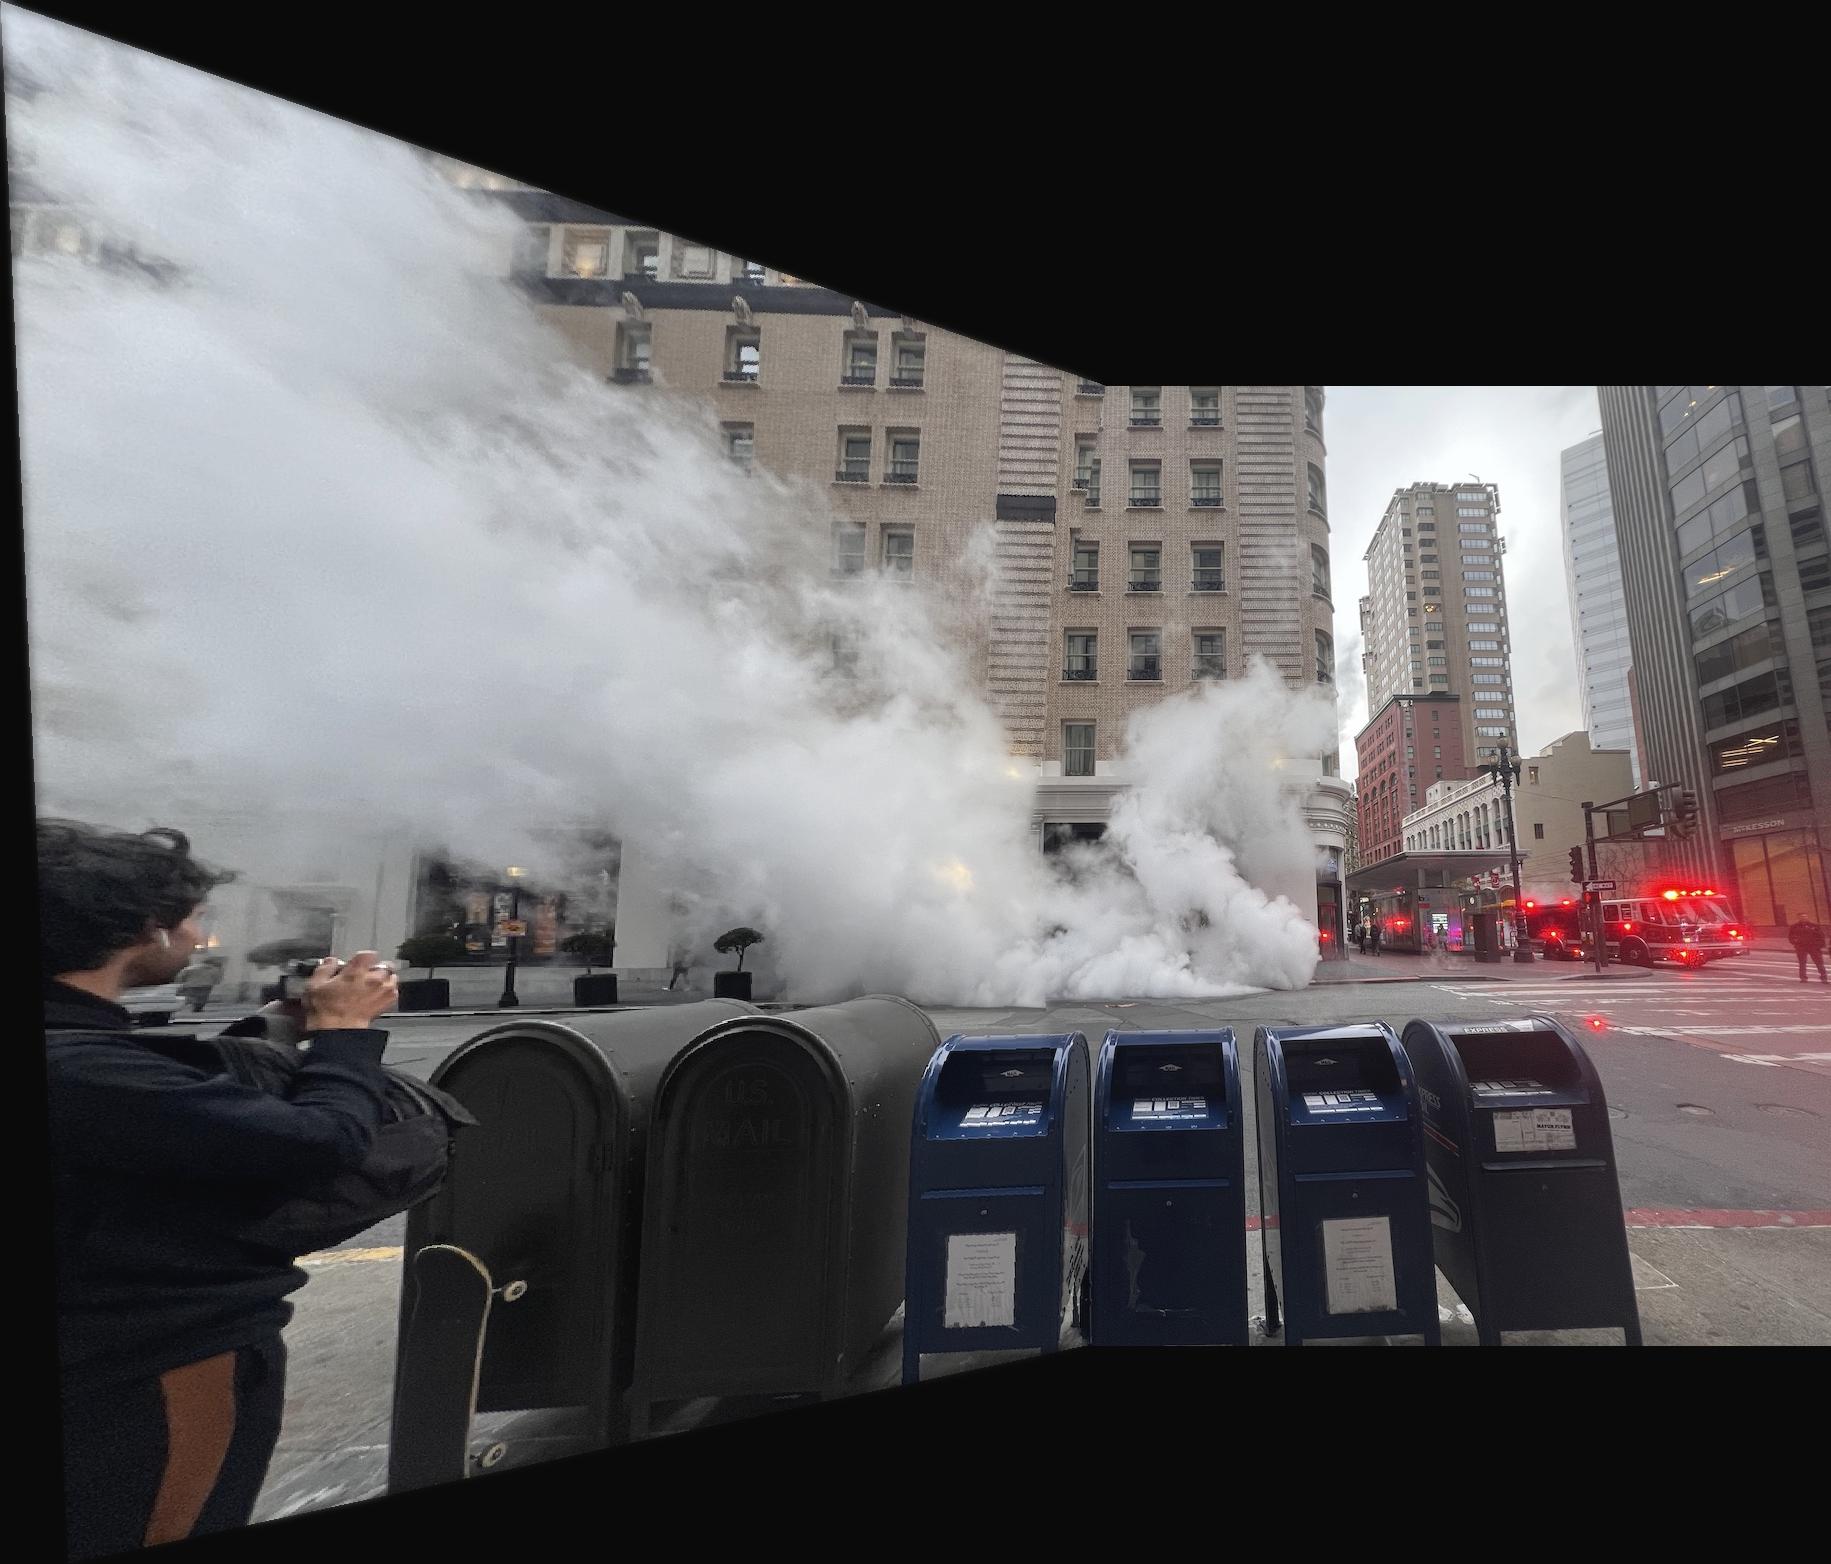
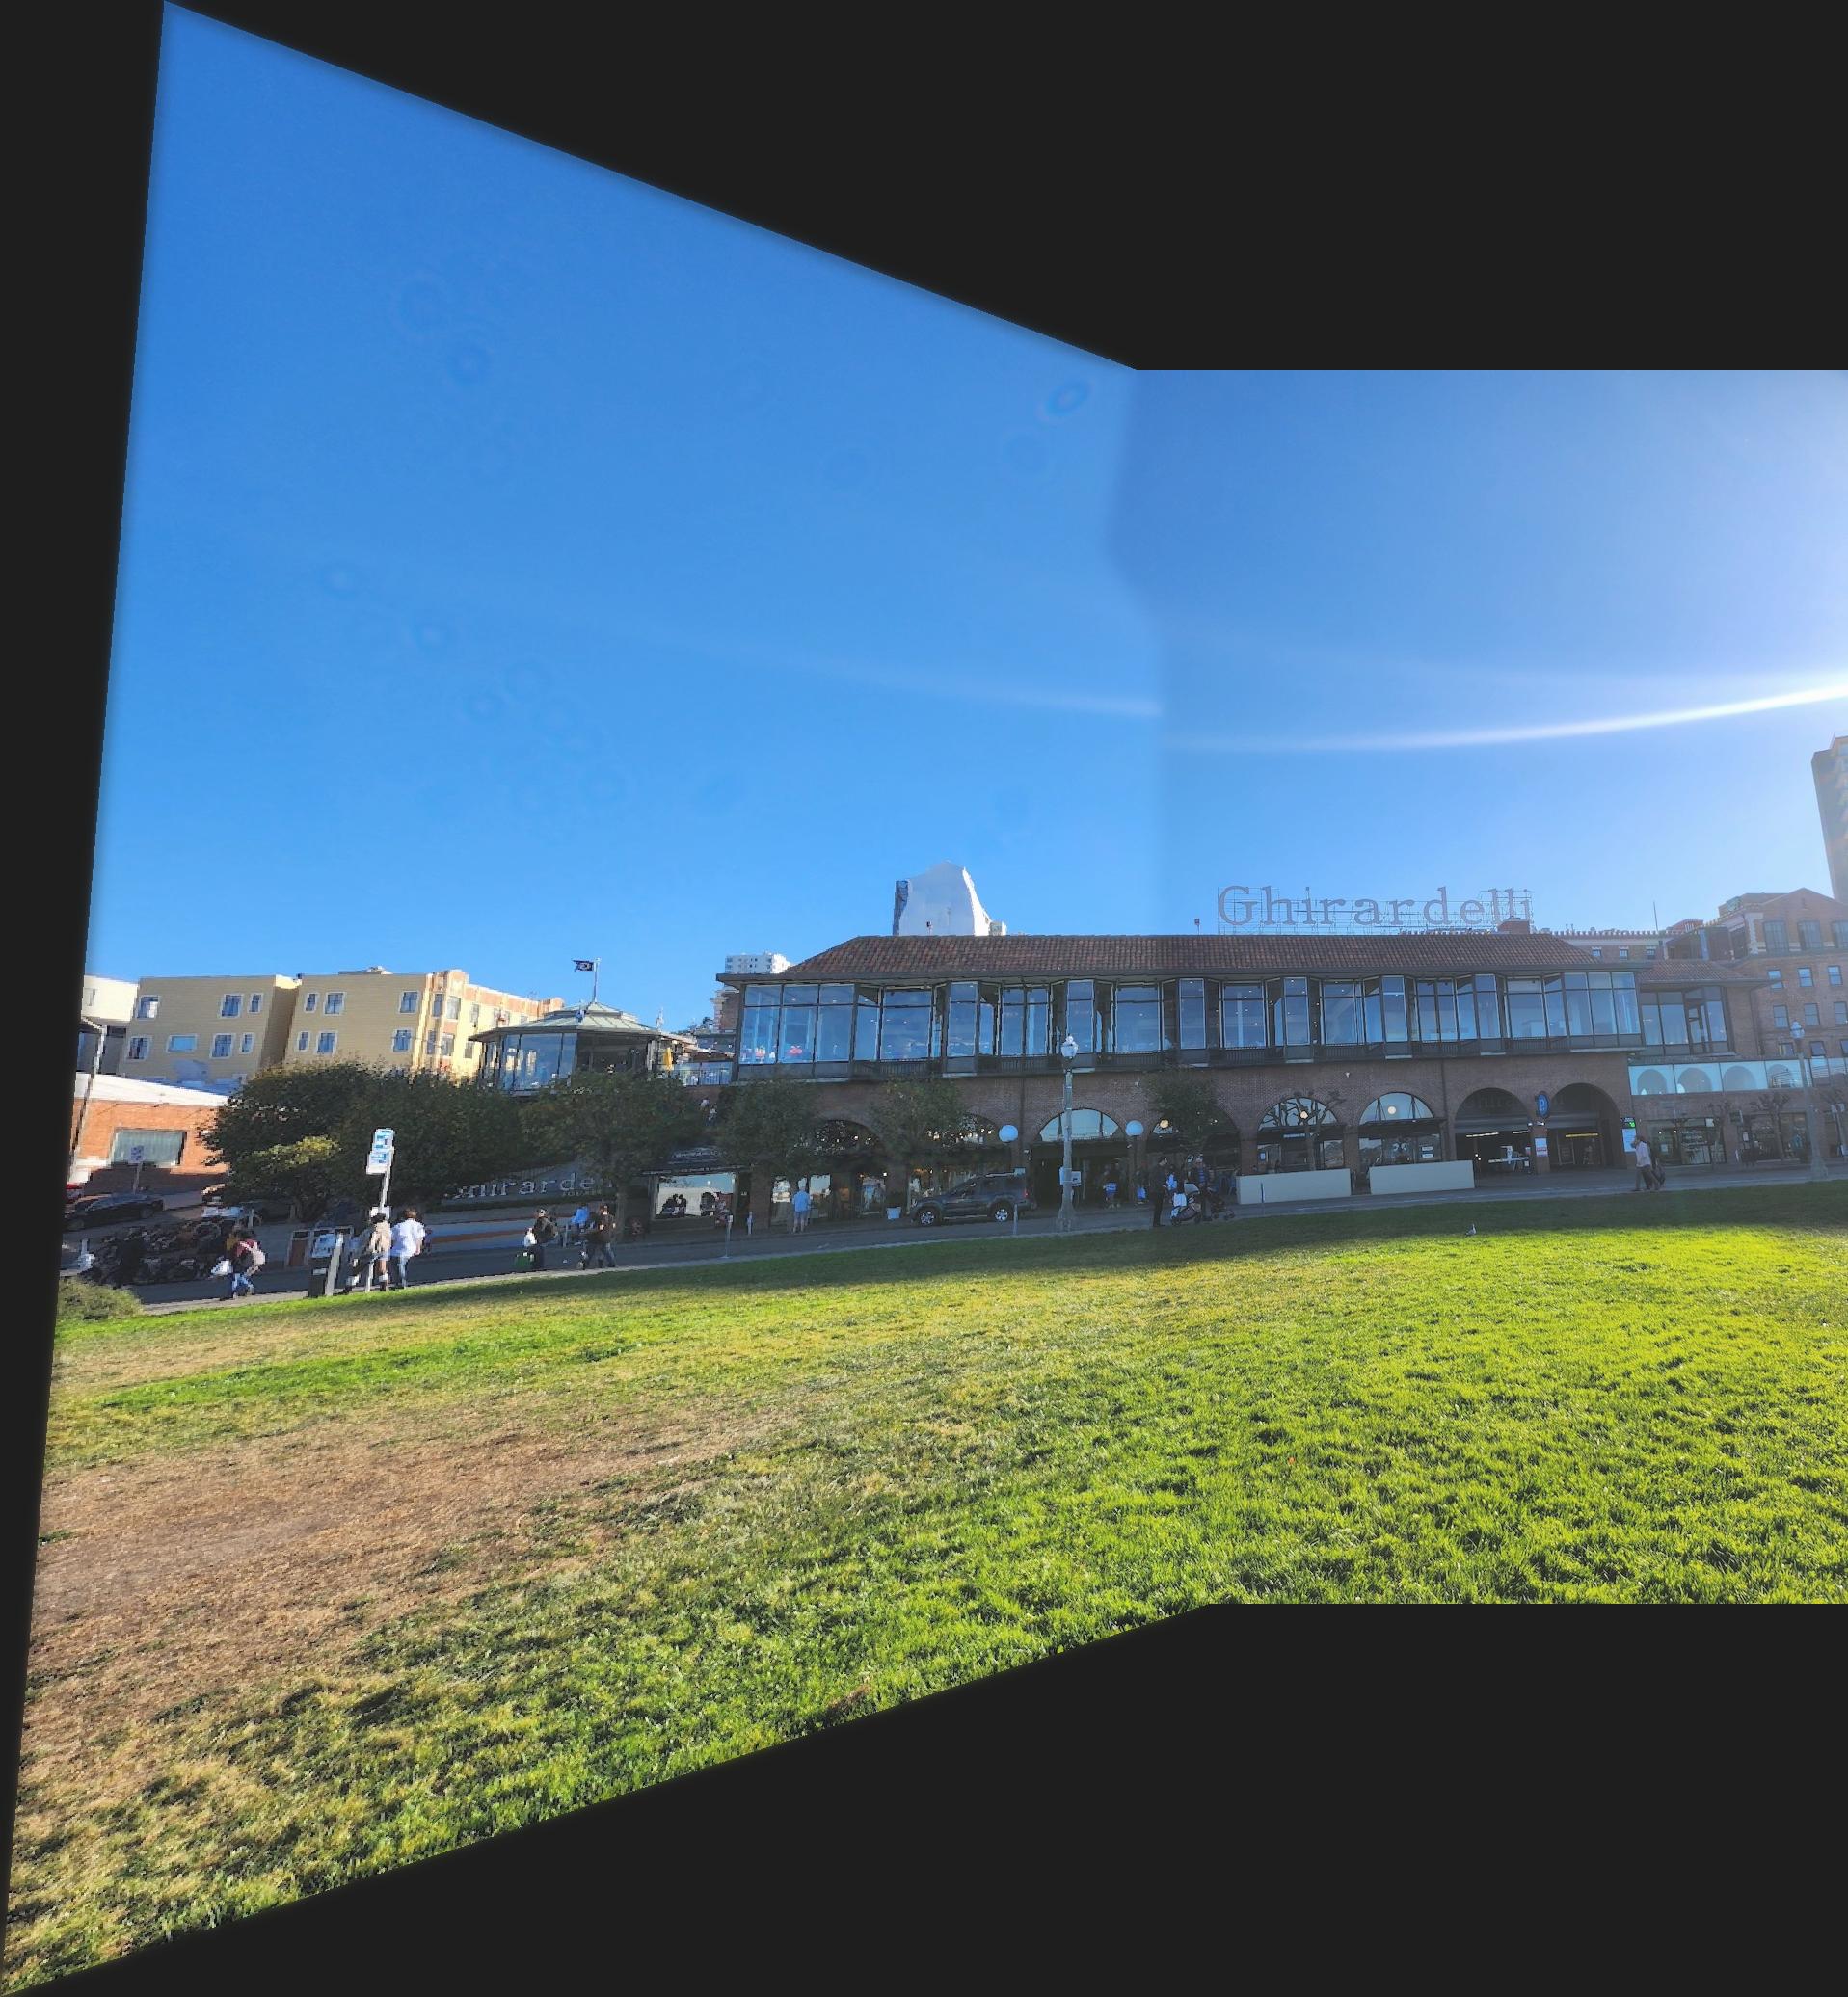
I began by plotting more than 4 corresponding points, so I can do error minimization using least squares. From there I warped the image to the picture I wanted to stay fixed. I was then able to calculate the bounding box for the mosaic using the offsets from the warp. I also created binary masks of each image with respect to the mosaic space. To create more of a seamless transition, I did a distance transform on the masks. I used the distance transform to find the alpha mask, which I then used to blend the images using a Laplacian stack.
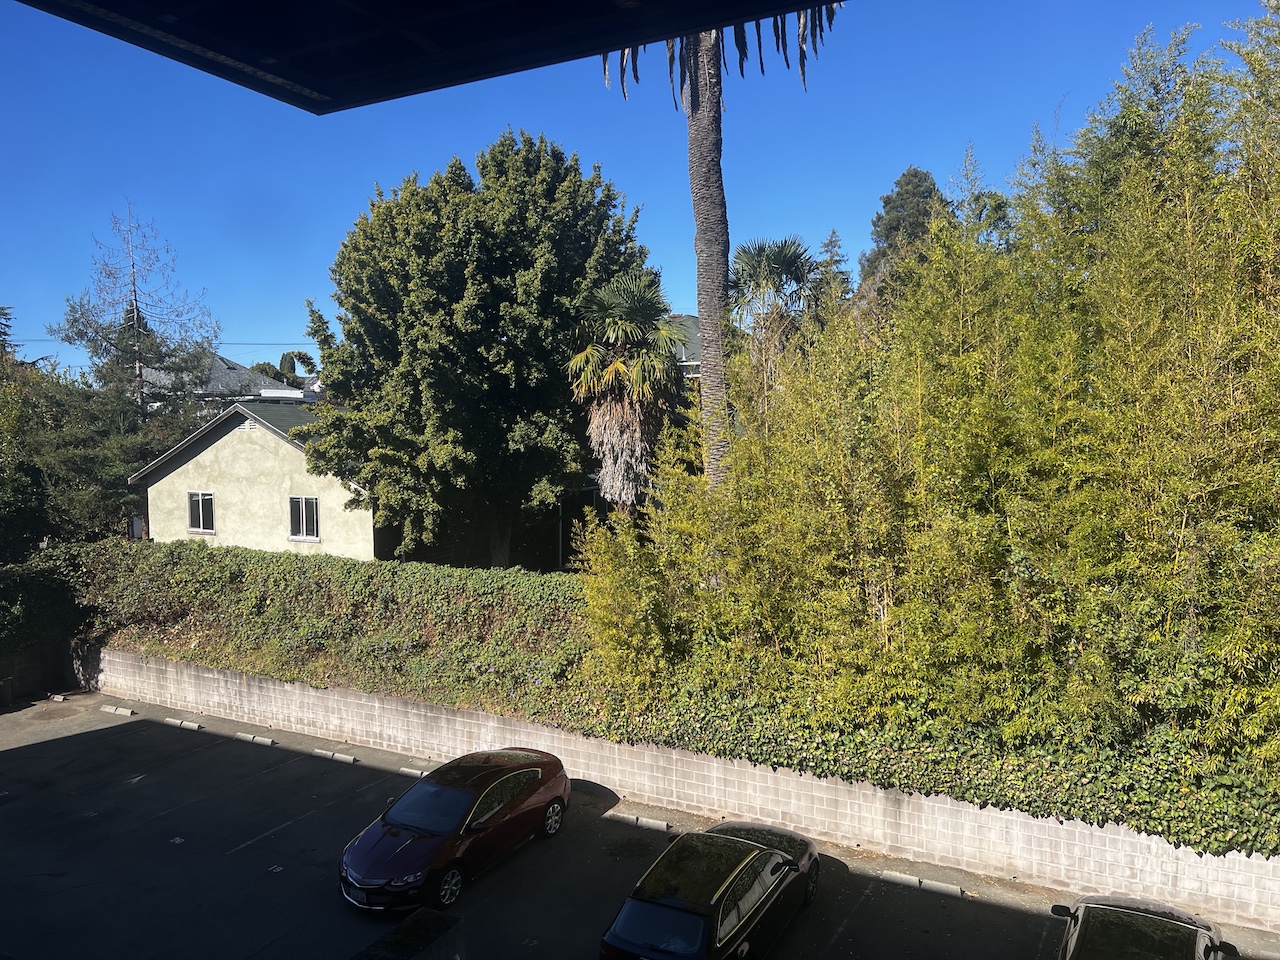
Image to warp
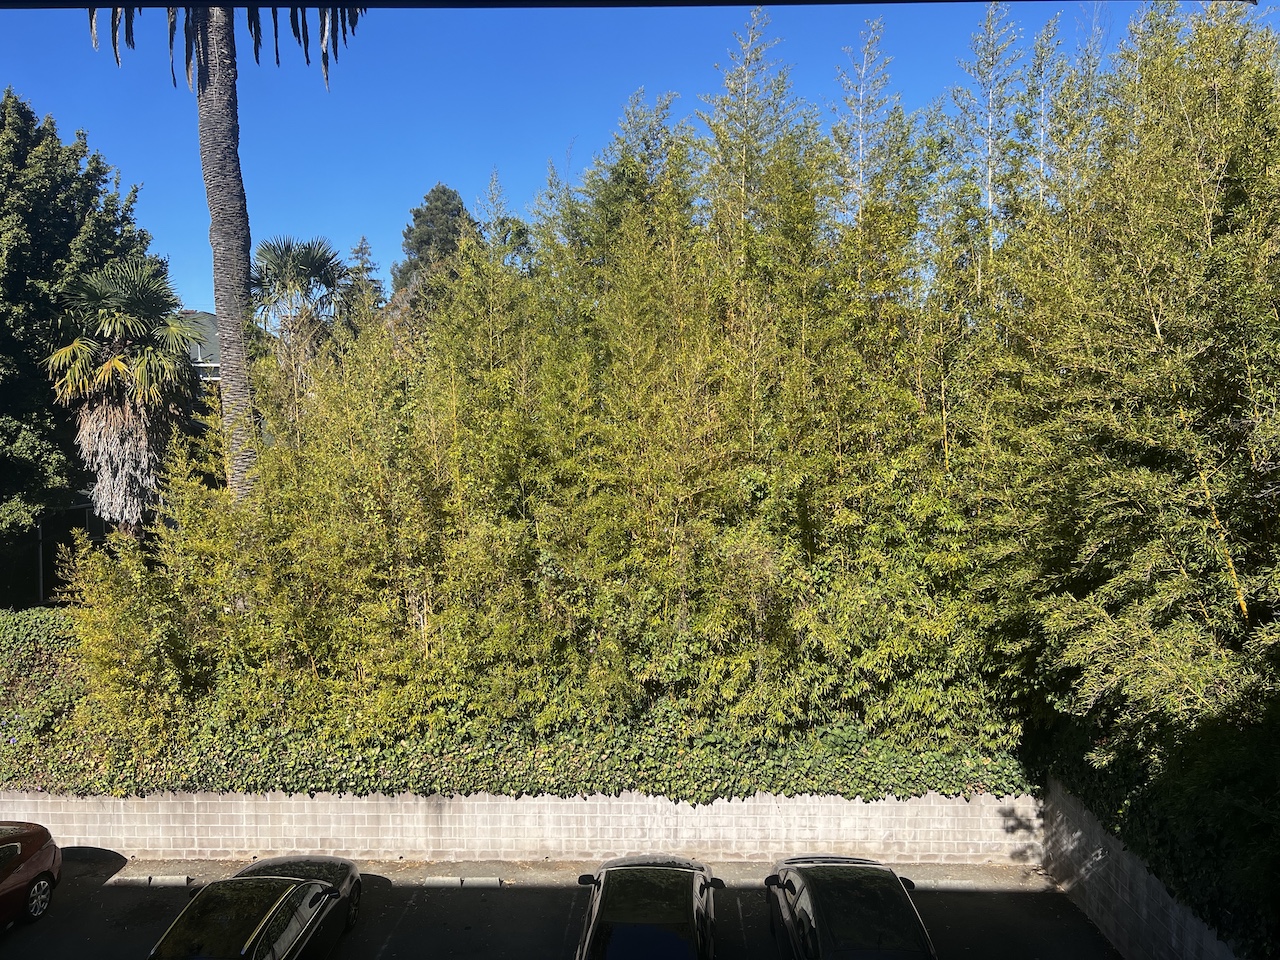
Fixed Image
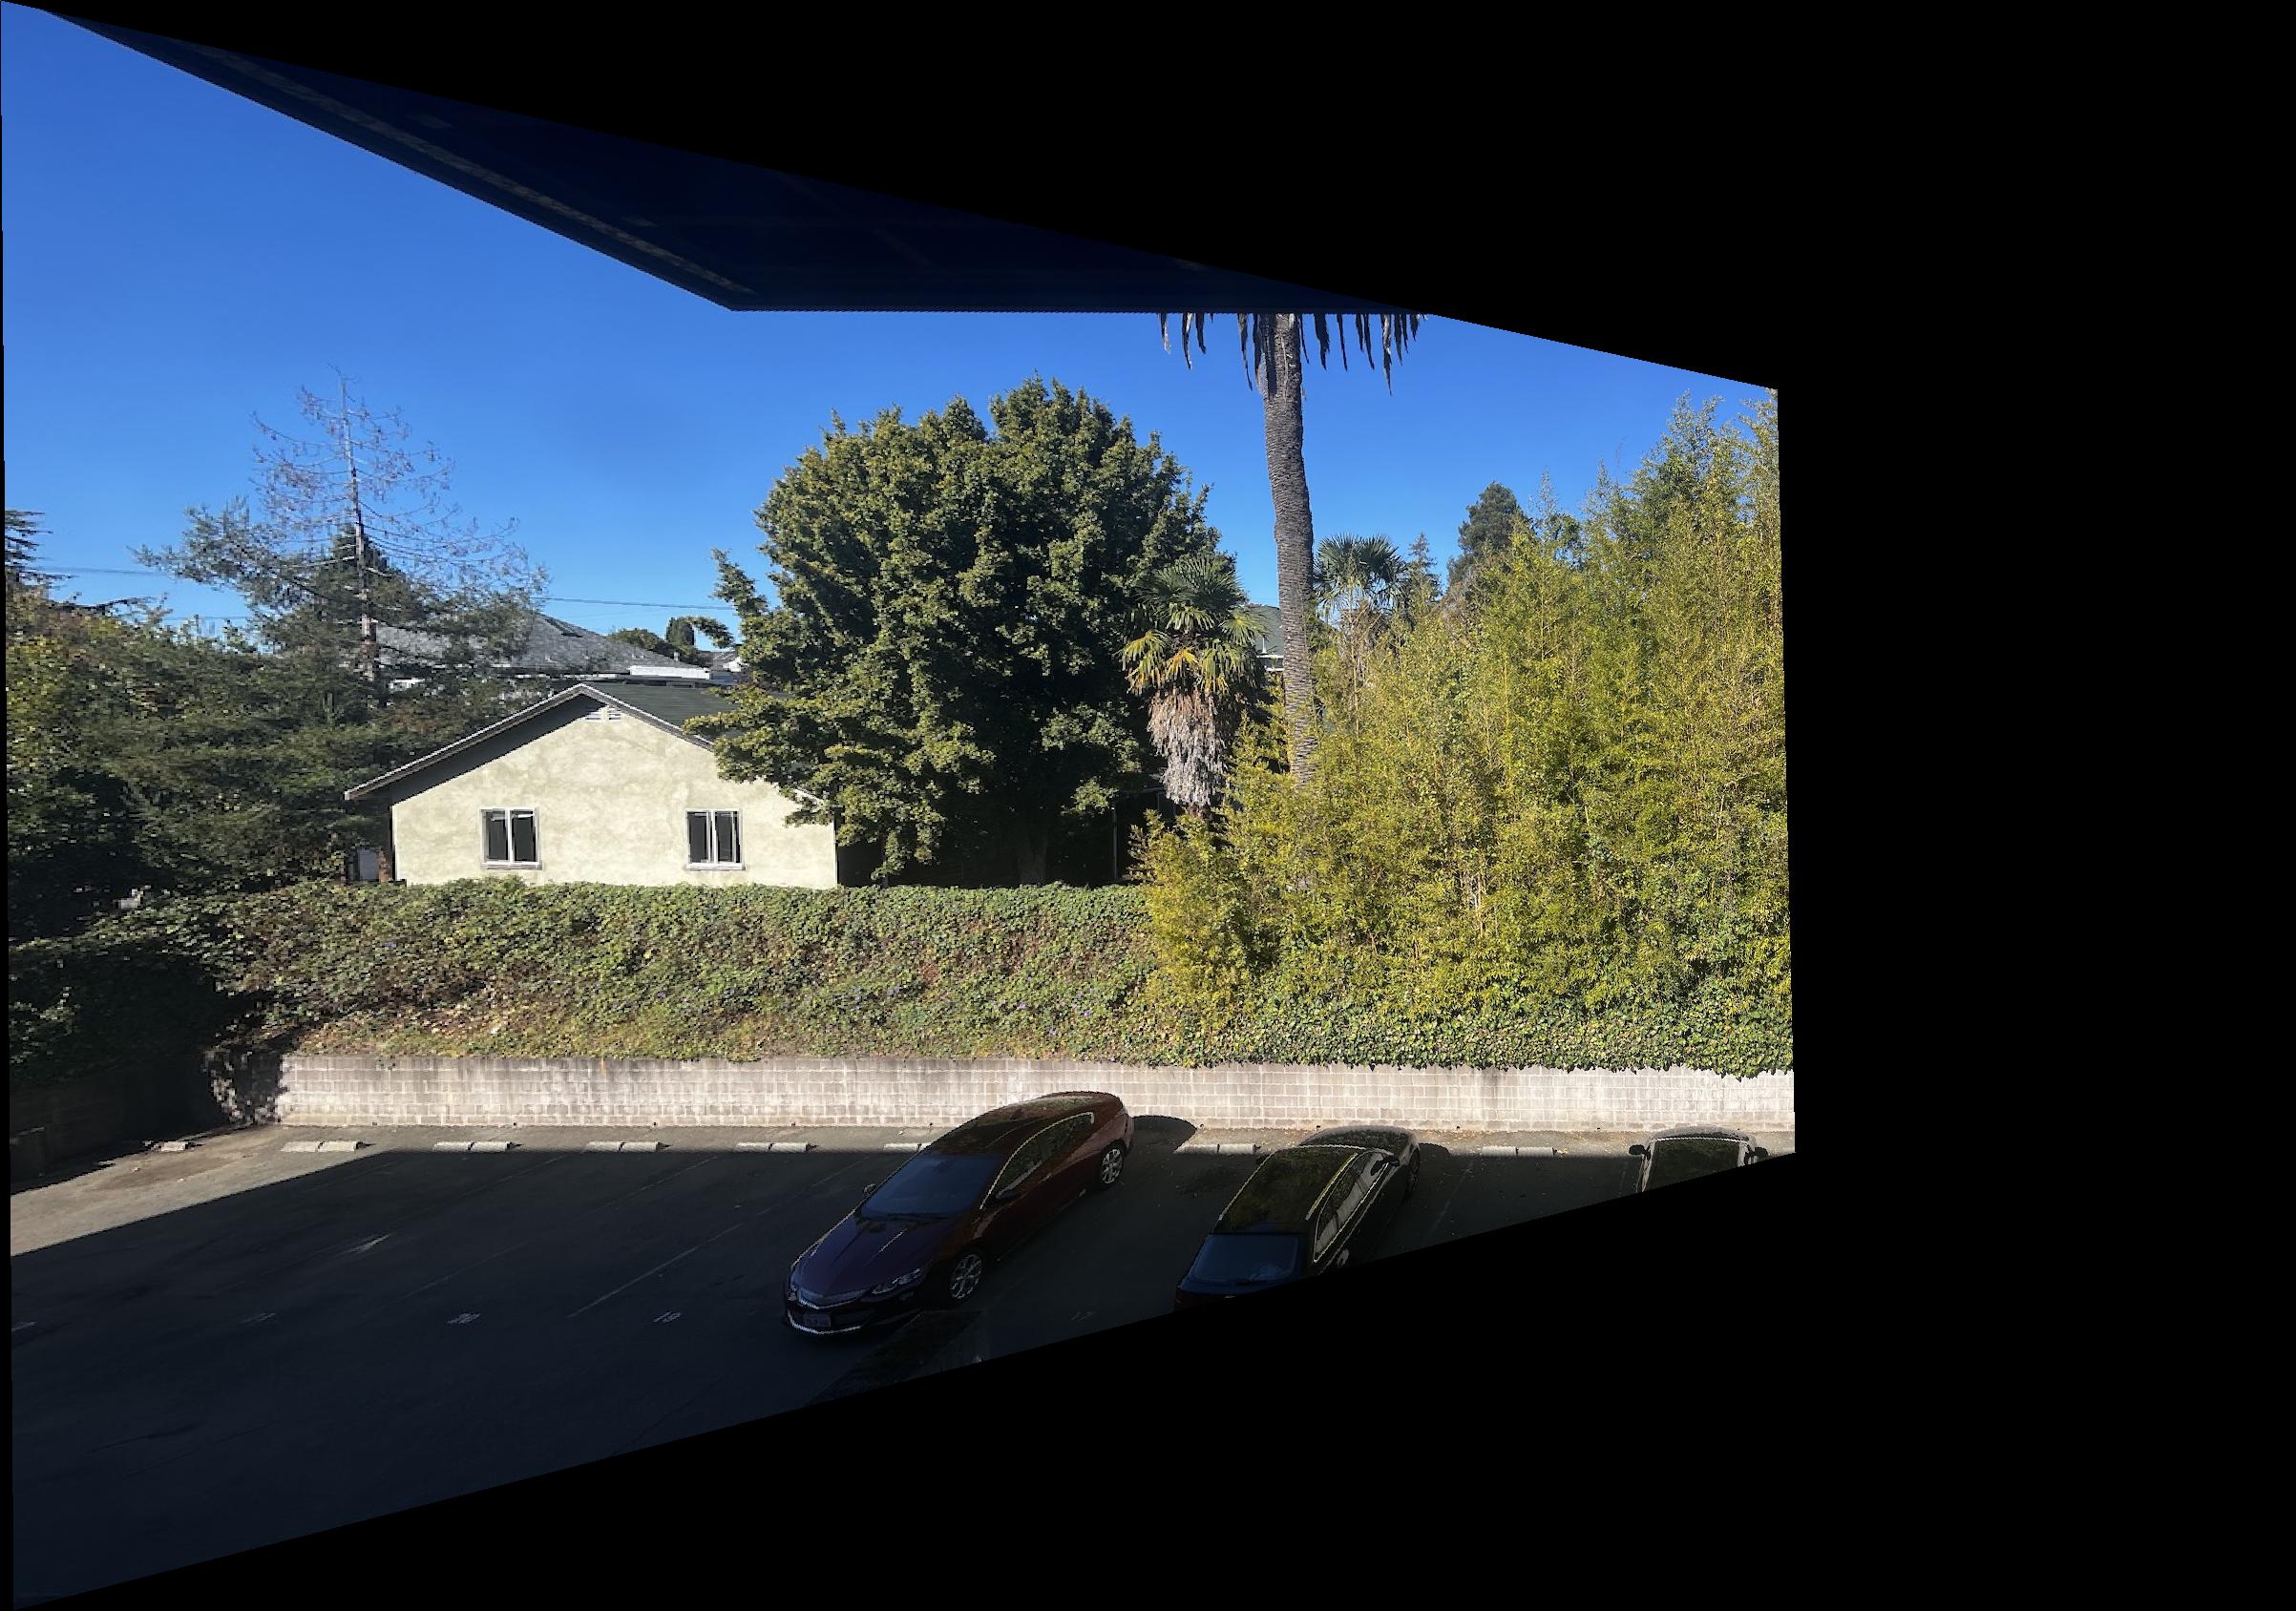
Warped Image in Mosaic Space
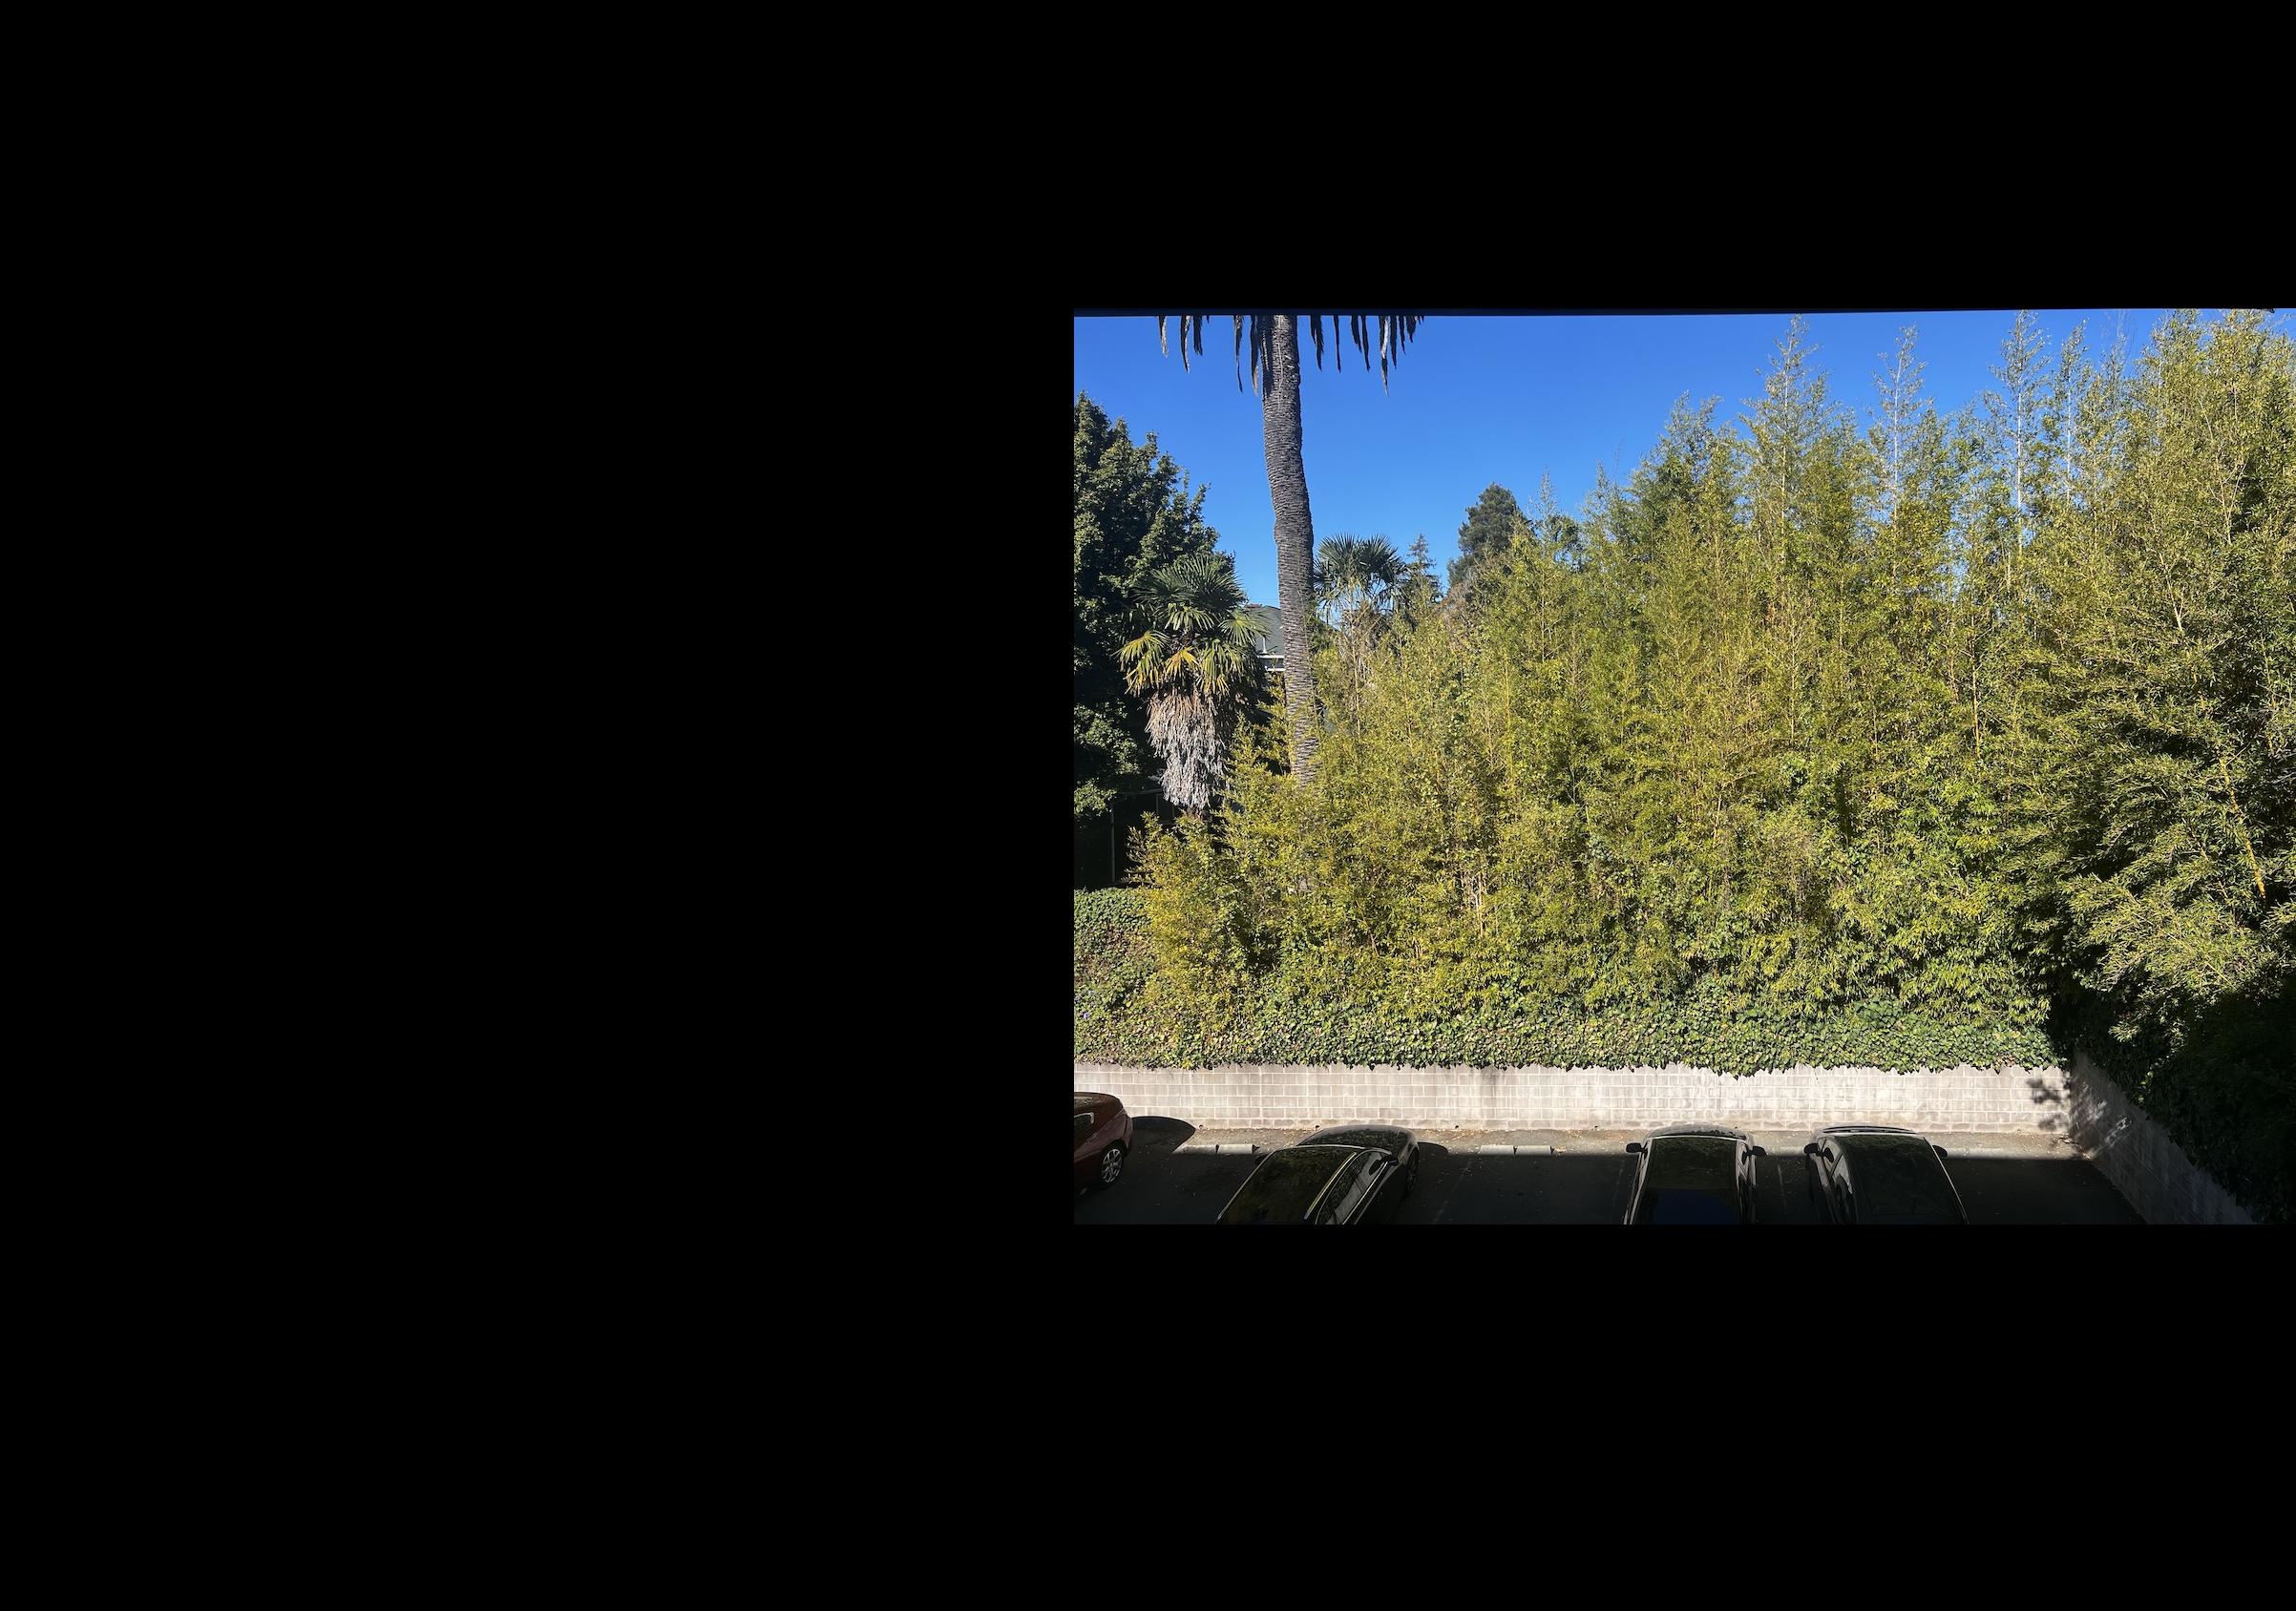
Fixed Image in Mosaic Space
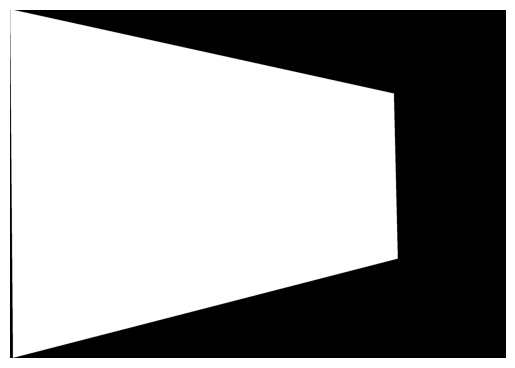
Warped Image Mask

Fixed Image Mask
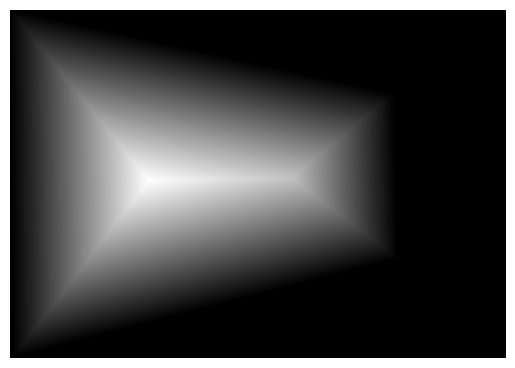
Distance Transform of Warped Image Mask
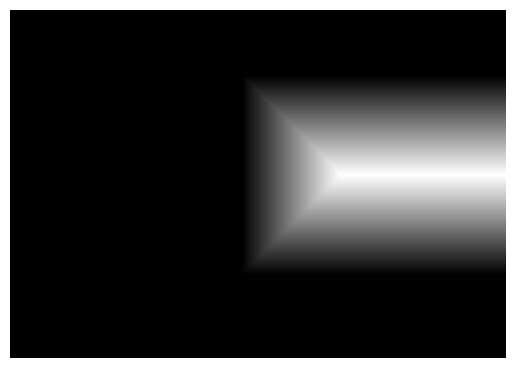
Distance Transform of Fixed Image Mask
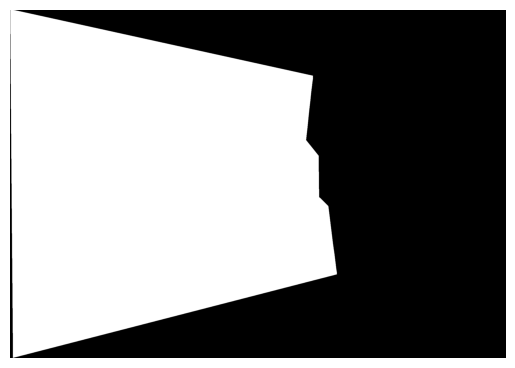
Alpha Mask
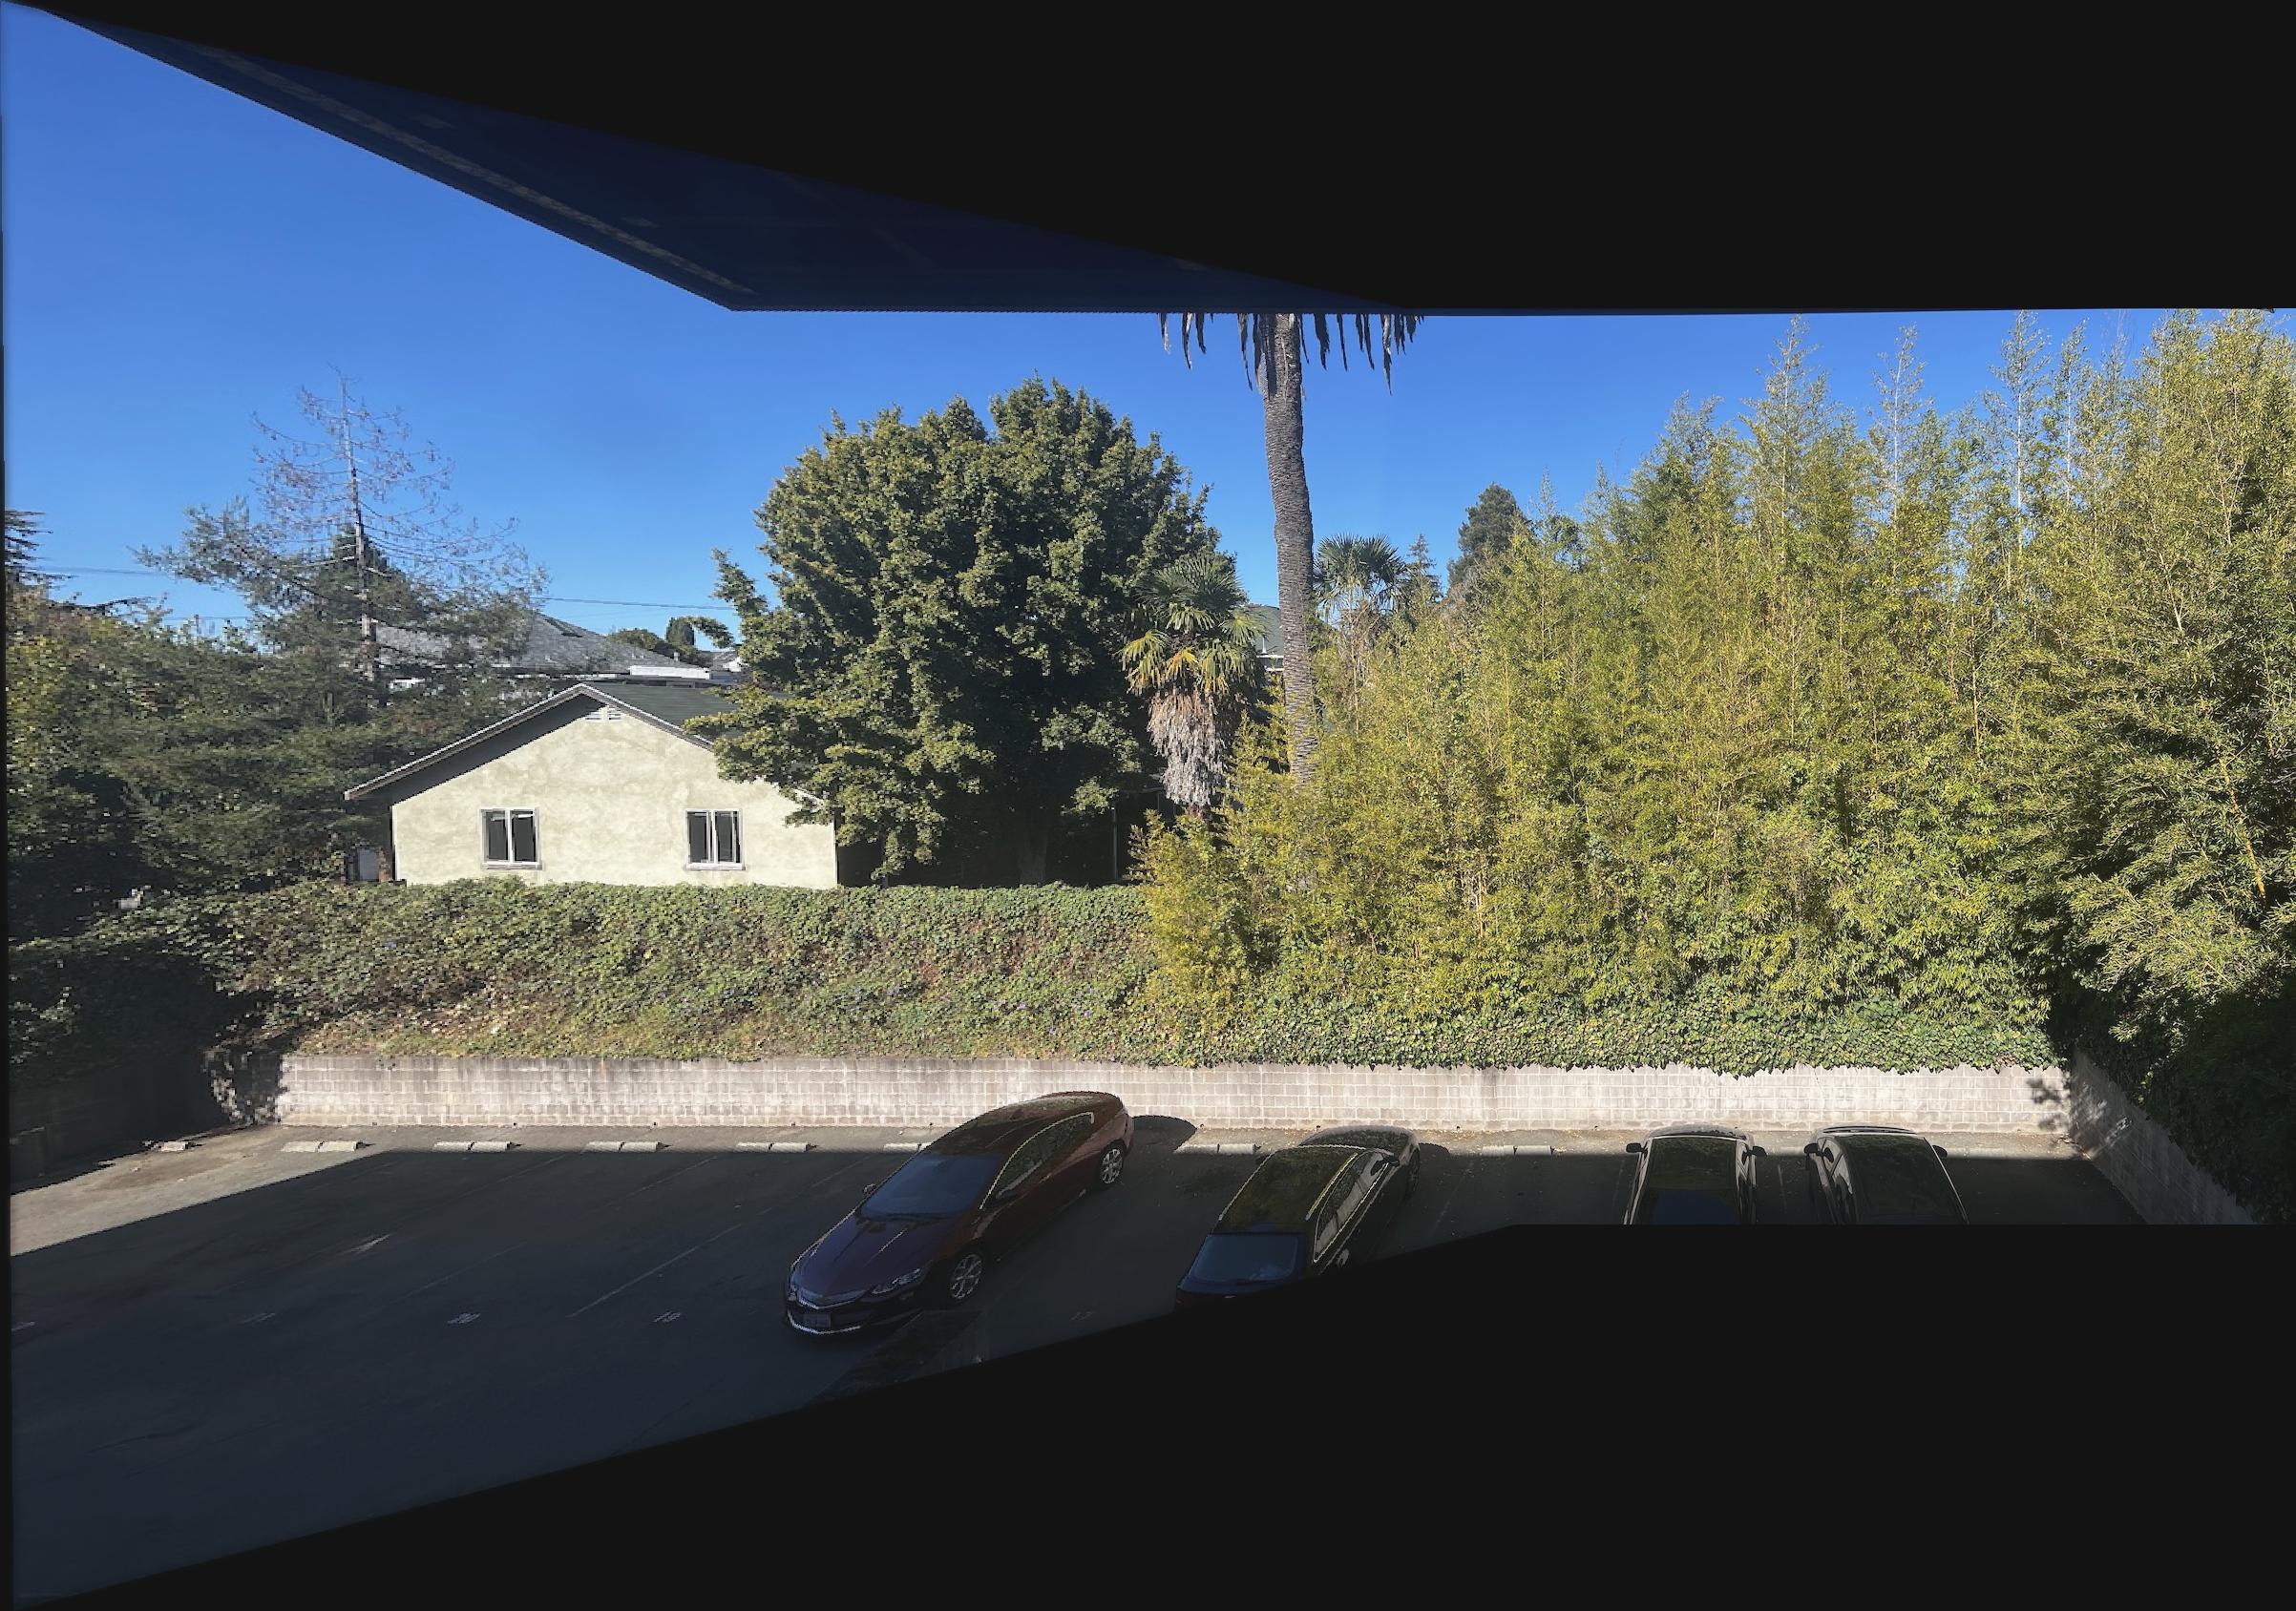
Final Result

Final Results of Manual Panoramic Creation
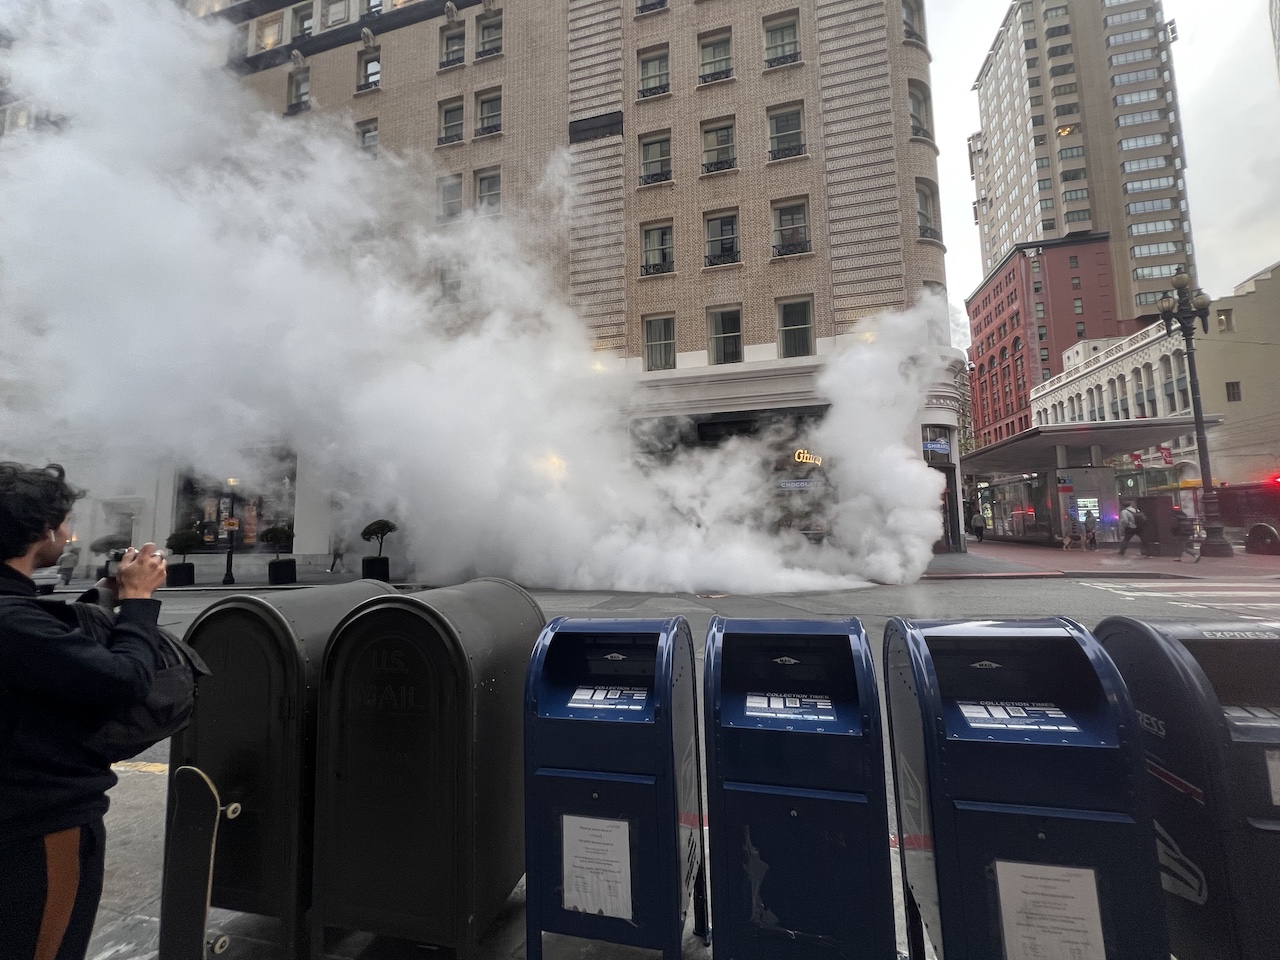
Left
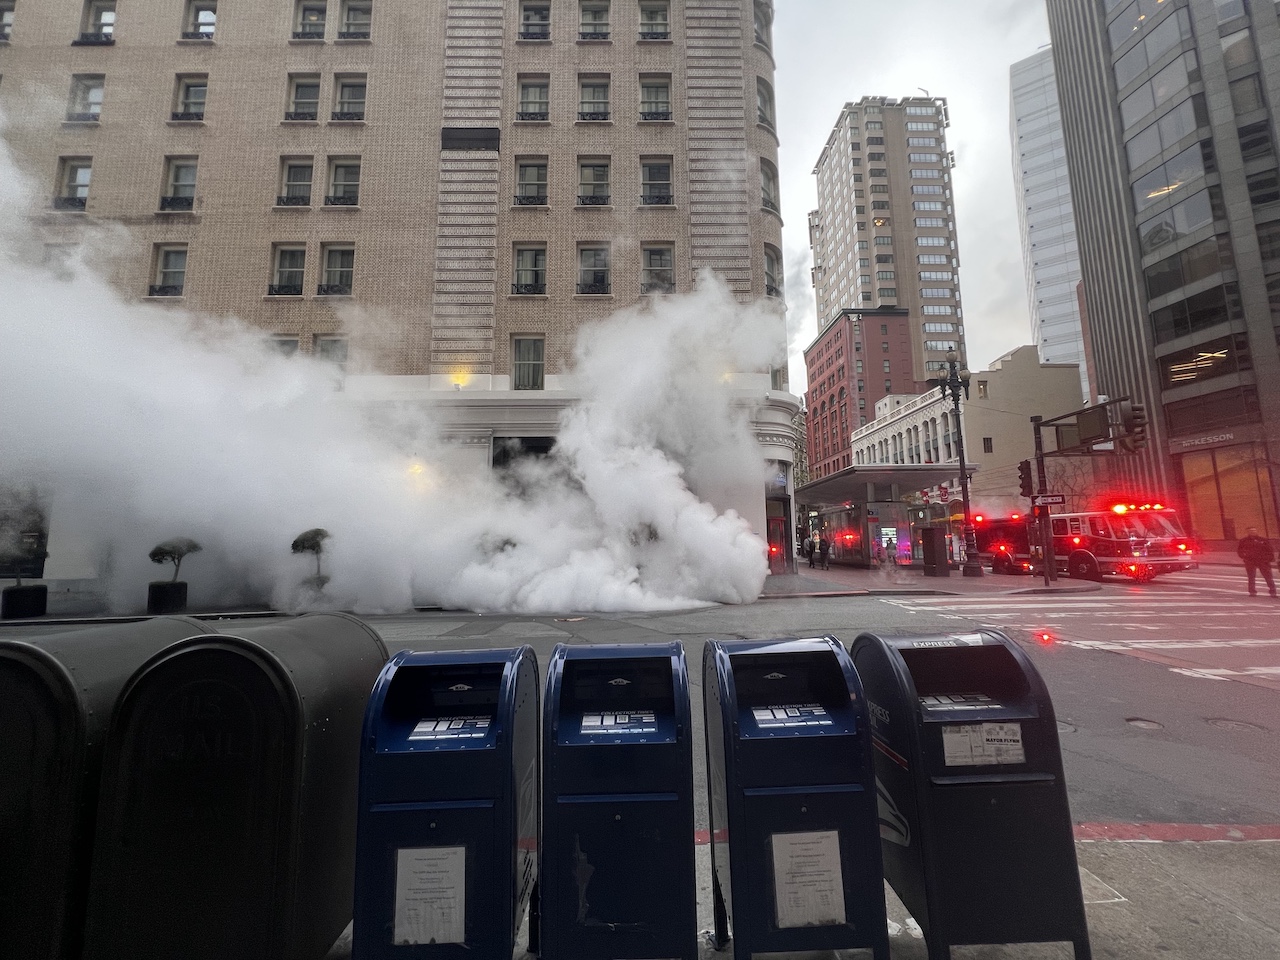
Right
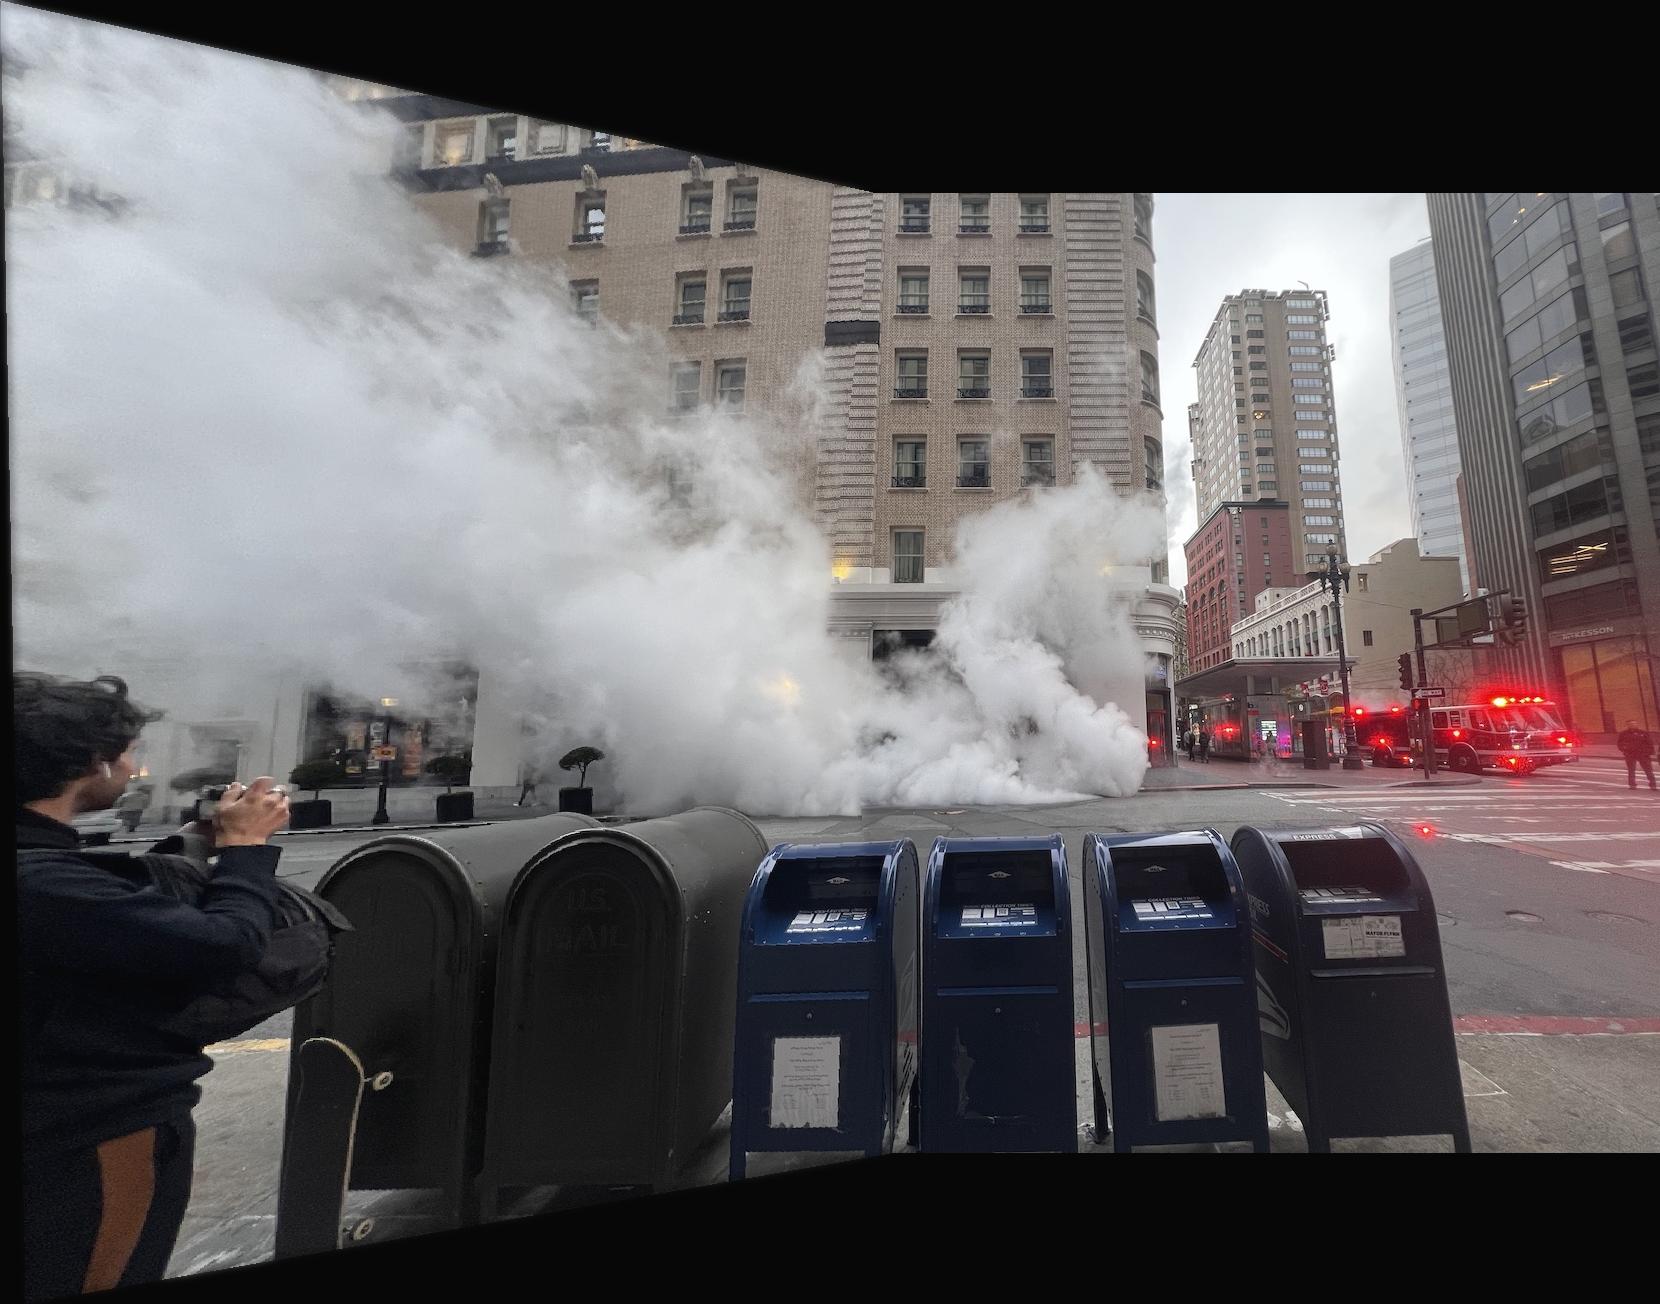
Final
There is a little misalignment as seen on wall of the building and in the steam
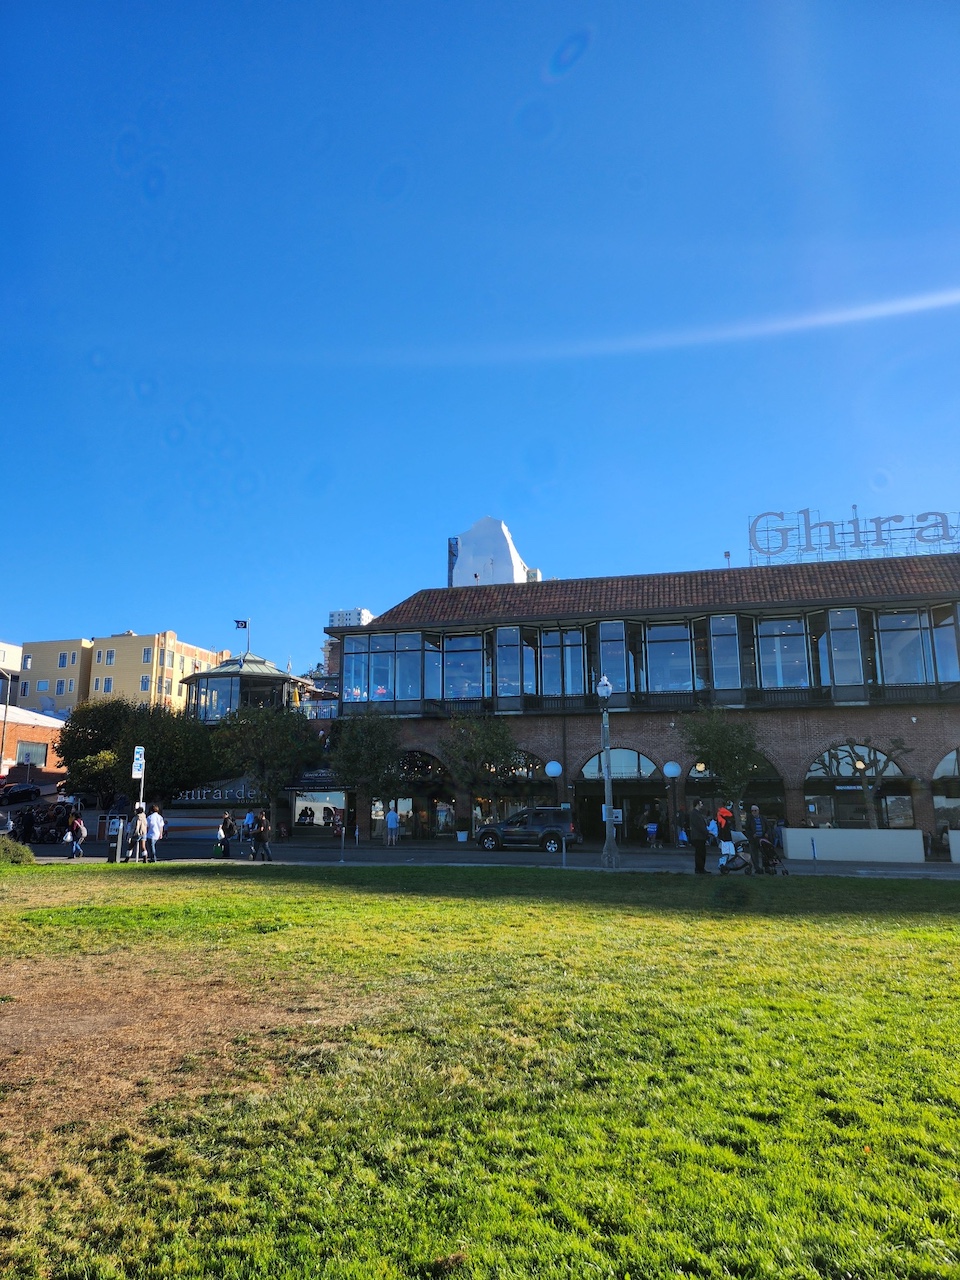
Left
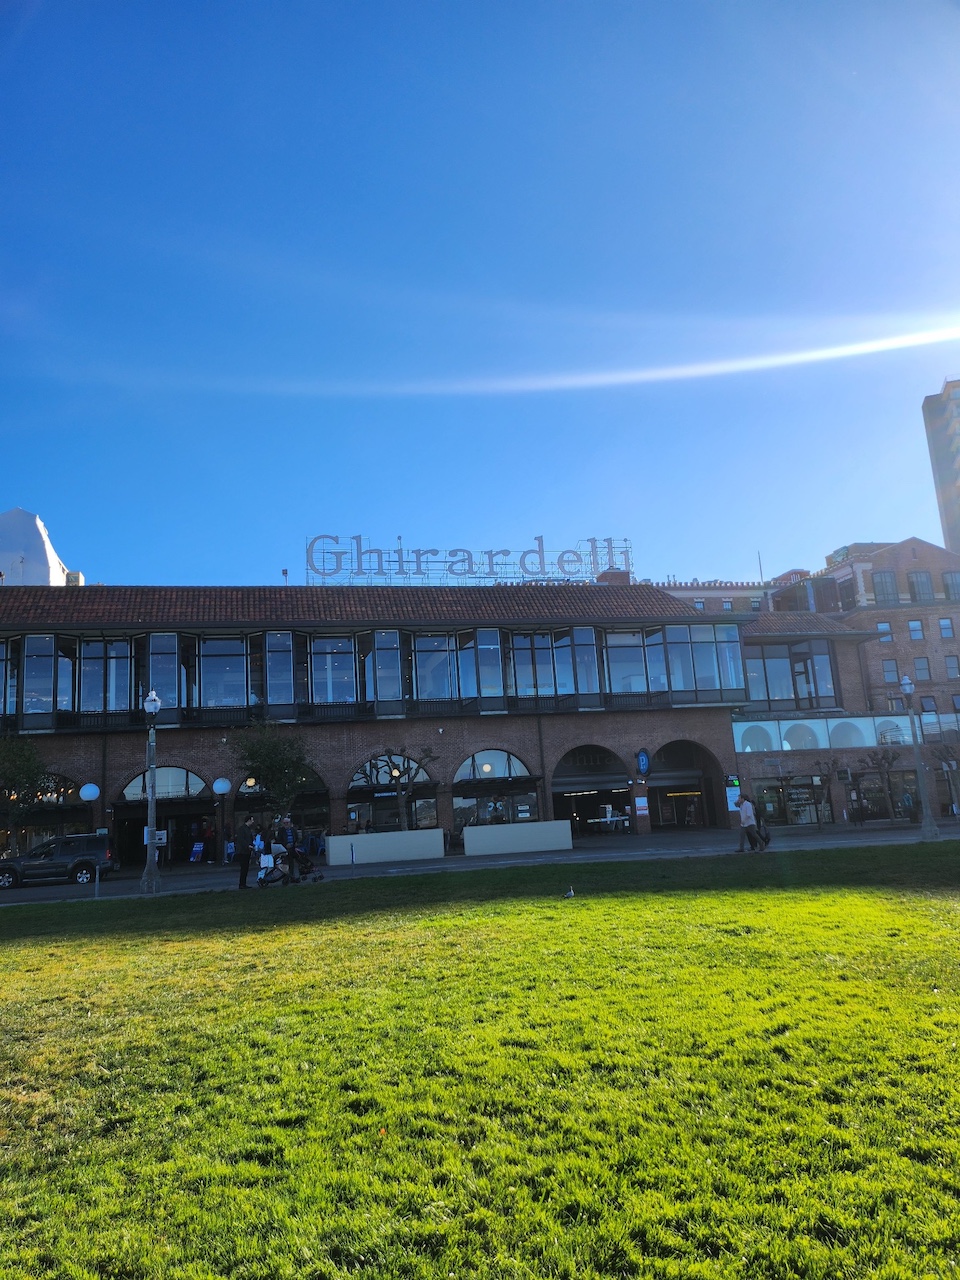
Right
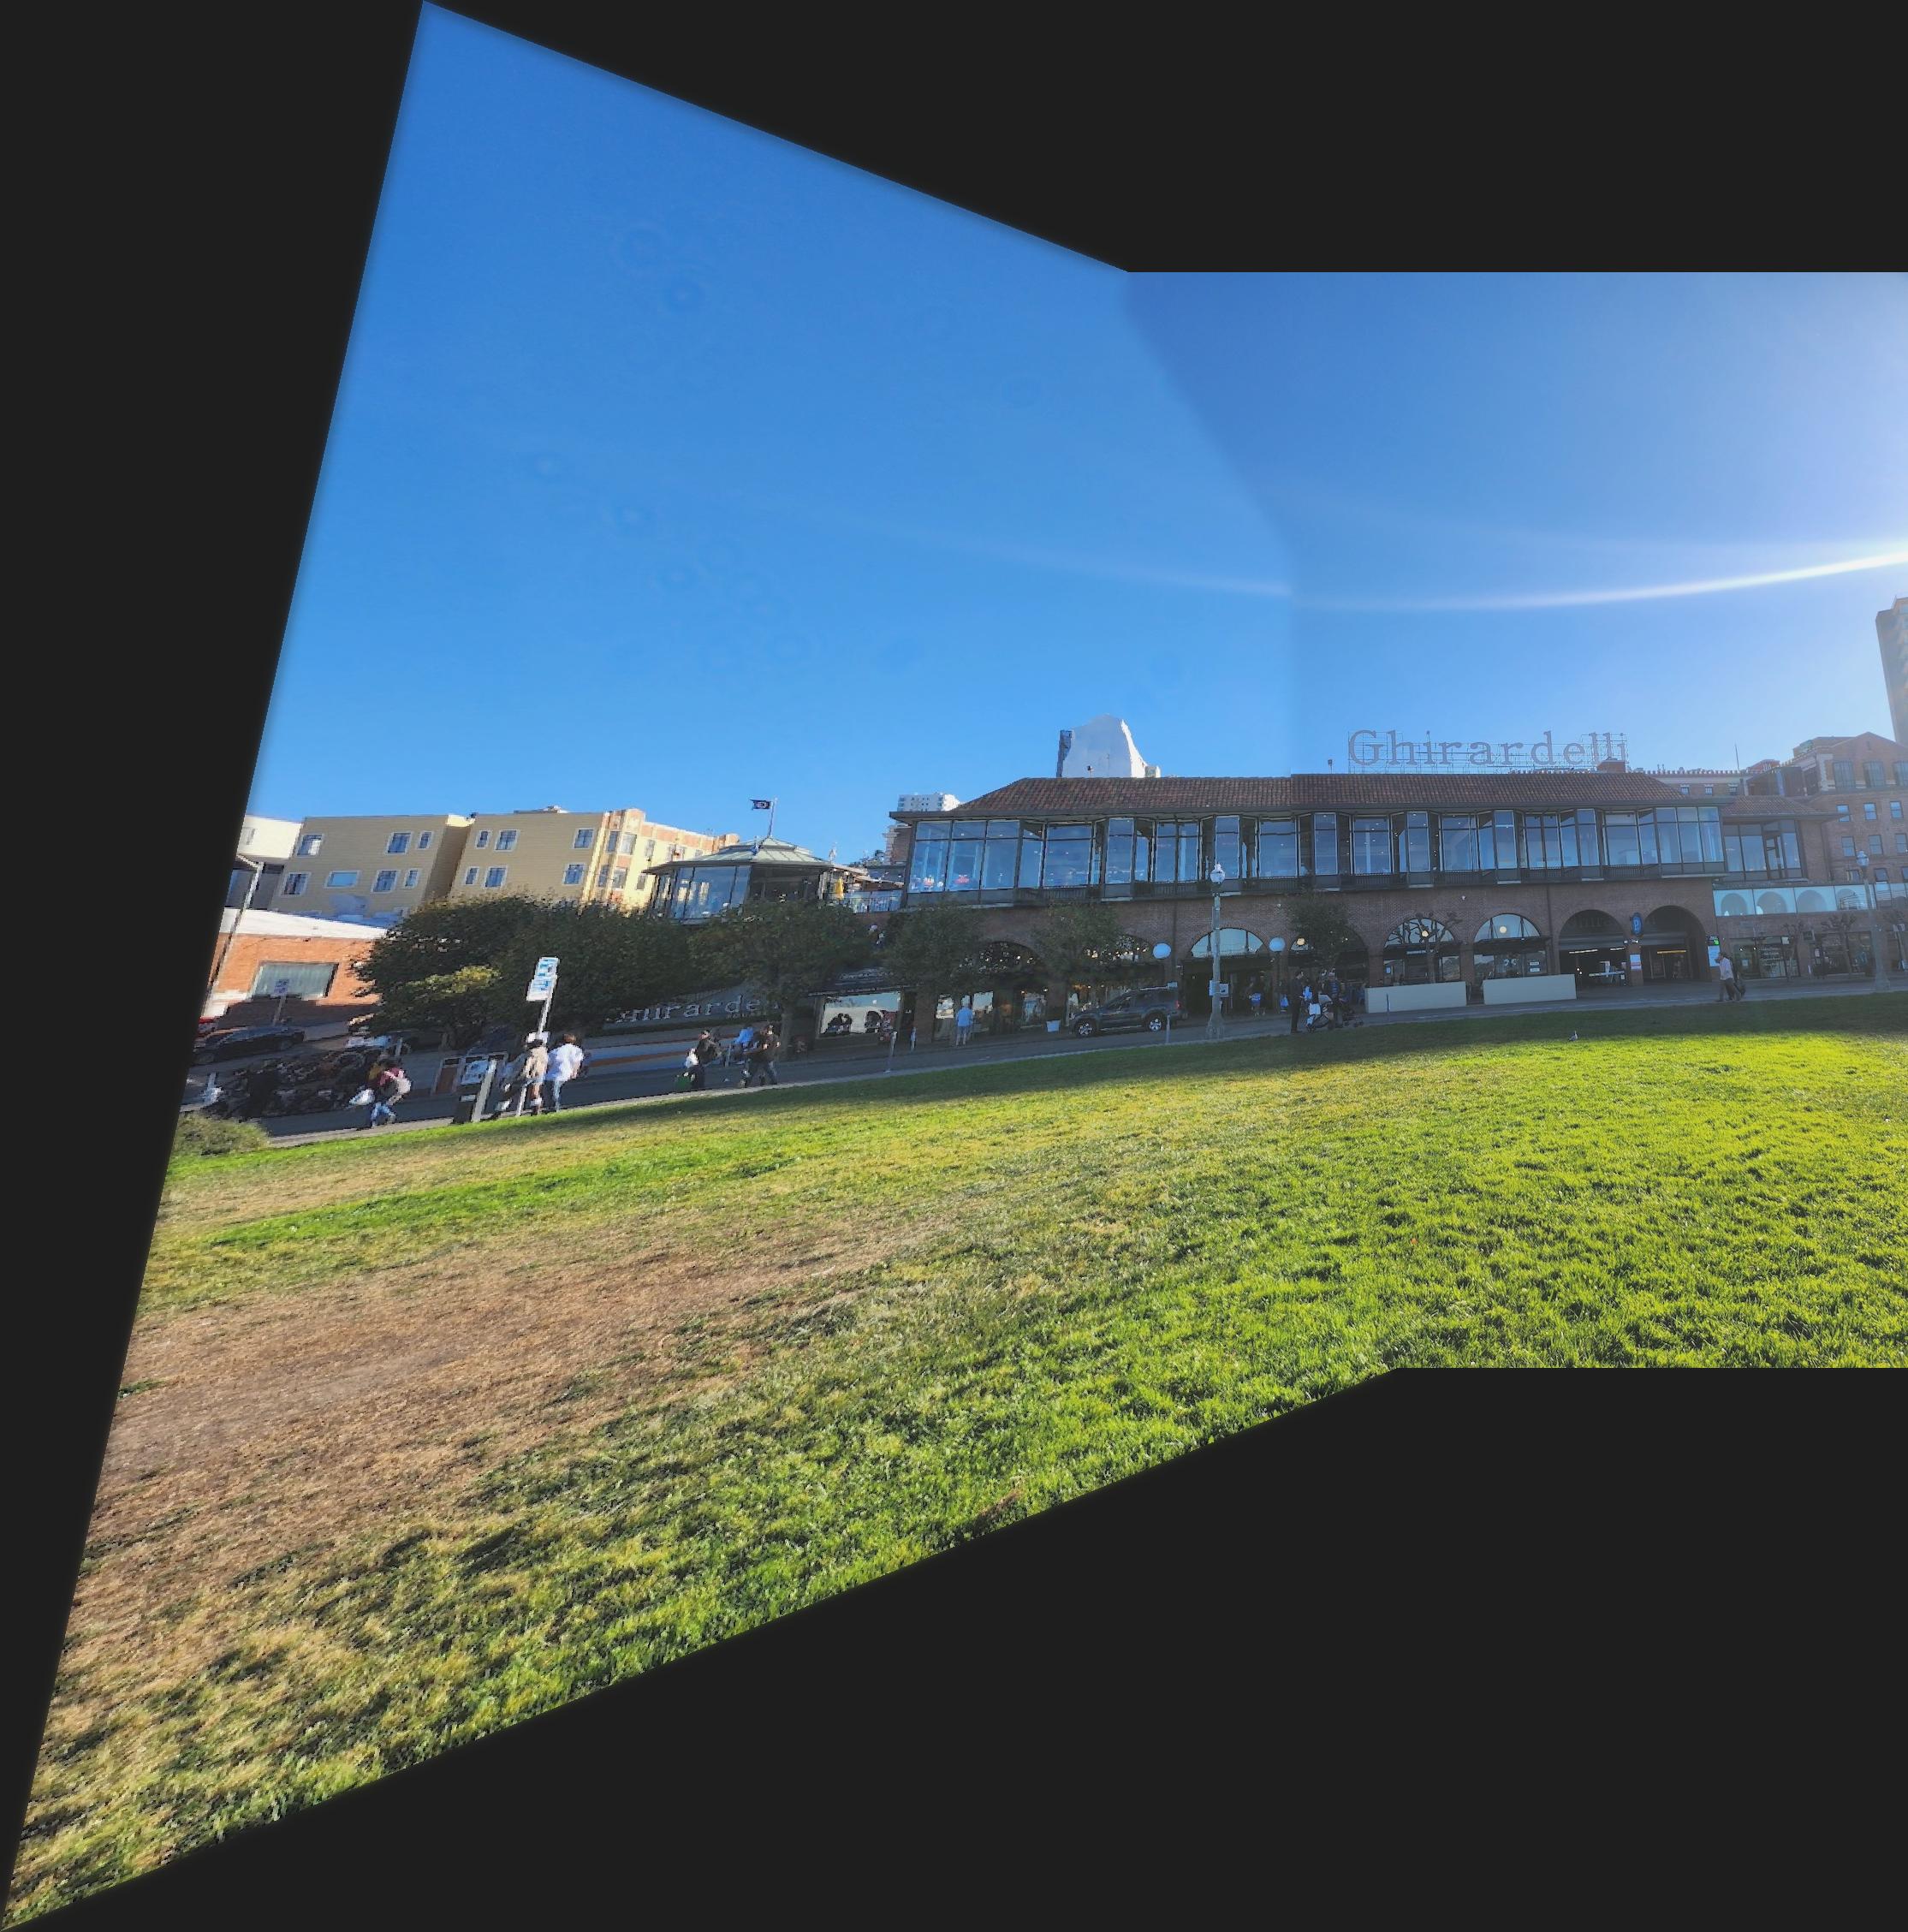
Final
There is a strong seamline possibly due to the lighting. The difference in color can be seen in the roof of the building
This is even with 4 layers and a sigma of 5 for blending.

Left

Right
Final


Feature Matching for Autostitching

Instead of manually finding correspondences, we can save time and greatly minimize error by implementing autostitching.

I followed the method outlined in Multi-Image Matching using Multi-Scale Oriented Patches by Brown, Szeliski, and Winder coupled with 4-point RANSAC
(RANdom SAmple Concensus)
.

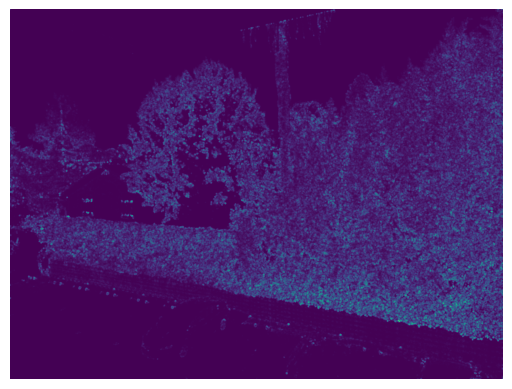
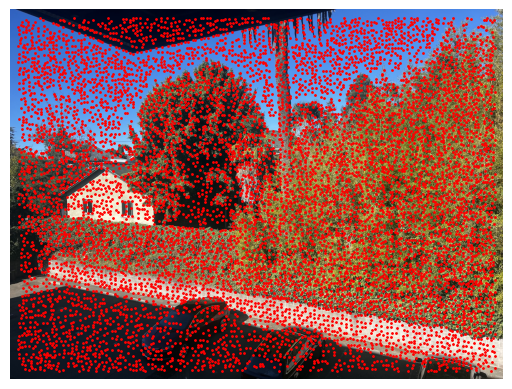
1. Harris Interest Point Dectector

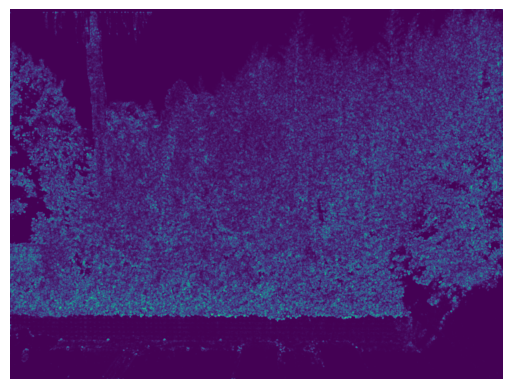
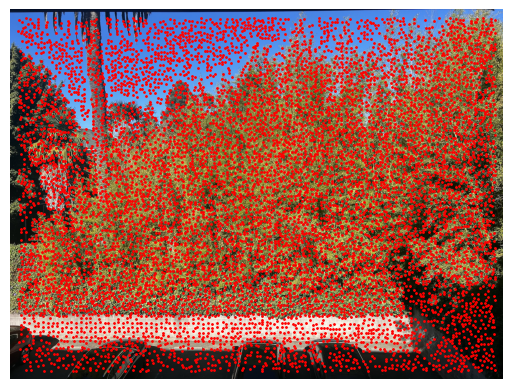
First, I found the Harris corners. These are list of potential "corners" in the image. A corner in this case are windows of pixels that change whenever there is a translation in x or y.

Harris Corner Strength Map (Image A)

All Possible Harris Corners (Image A)

Harris Corner Strength Map (Image B)

All Possible Harris Corners (Image B)

2. Adaptive Non-Maximal Suppression

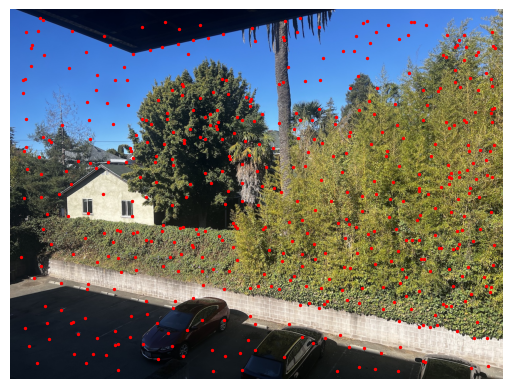
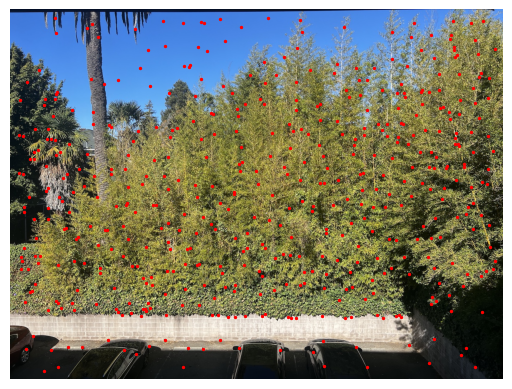
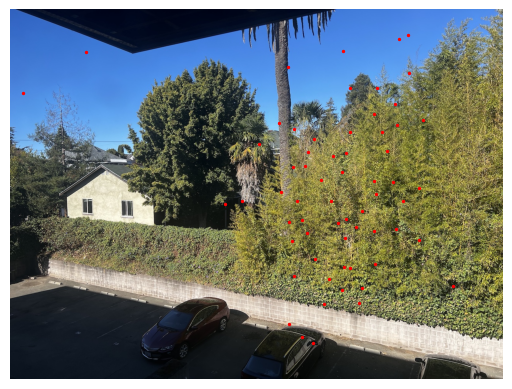
There are too many corners to compute a homography on and many of them aren't correspondences, so it wouldn't help even if we were to recover the homography with all those corners. So, we must reduce the amount of corners to those that represent strong corners using the Harris corner strength map.

After applying ANMS on Image A

After applying ANMS on Image B

3. Feature Descriptor Extraction

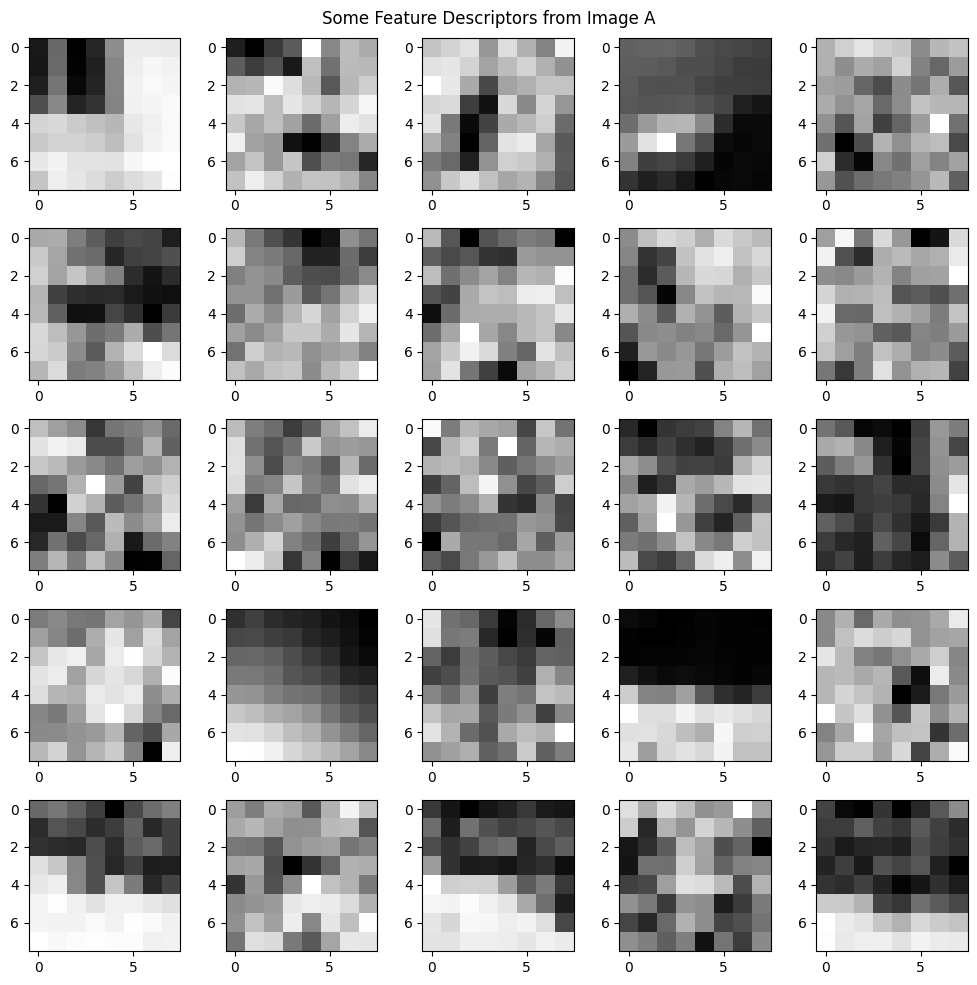
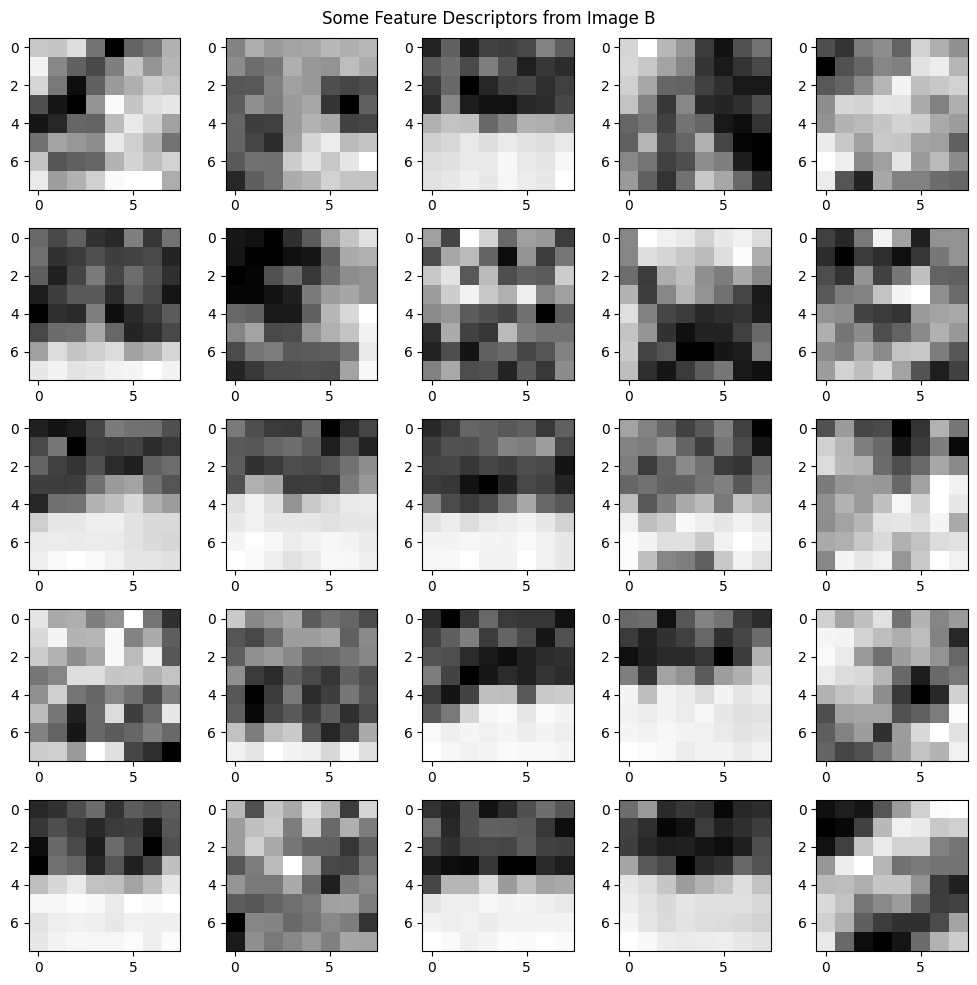
We have reduced the amount of corners to check. Now we must find corresponding features between the images, so we can recover our homography. In order to do that, we must first extract those features and compare them.
The process to examine the features from the corners is to first extract a 40x40 descriptor/ or patch around each Harris corner left by AMNS, and then downsample them.

4. Feature Matching

We need to now see which features are the best matches. To do this, I computed the first and second nearest-neighbor of each feature descriptor, and then divided the 1-NN by the 2-NN. If this ratio is within a threshold, then they are good corresponding pairs.
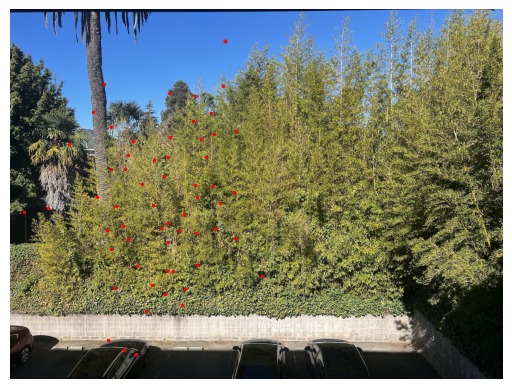
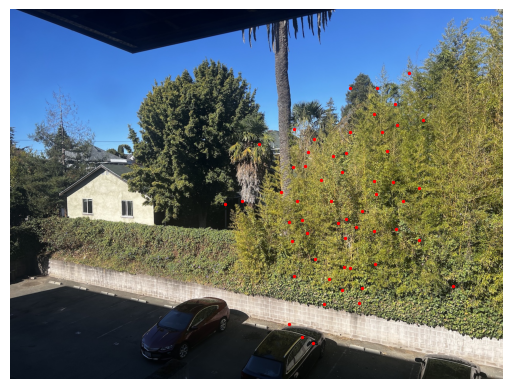
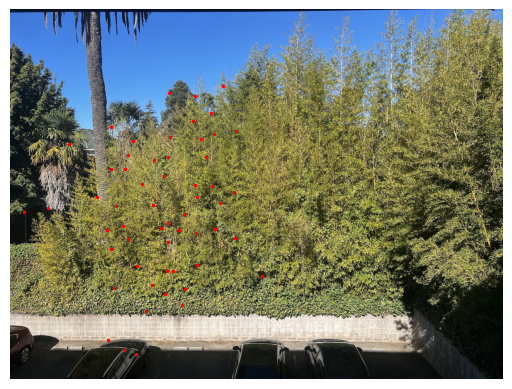
Here are the locations of the corresponding features. We can see that there are some outliers; we need to take care of them before we can recover the homography.

5. 4-Point RANSAC (Robust Homography Estimate)

To filter out the outliers, we can use RANSAC which stands for RANdom SAmple Concensus. We essentially random sample 4 points, compute the homography, and see how many of the points we were left with after feature matching are inliers. We choose the 4 points that gave us the most inliers.

RANSAC Loop:
- Select 4 feature points at random
- Compute Homography
- Compute inliners where dist(p', Hp') < tol
- Keep the largest set of inliners
- Re-compute least-squares H estimate on all of the inliners


The following are best inliners found by RANSAC.

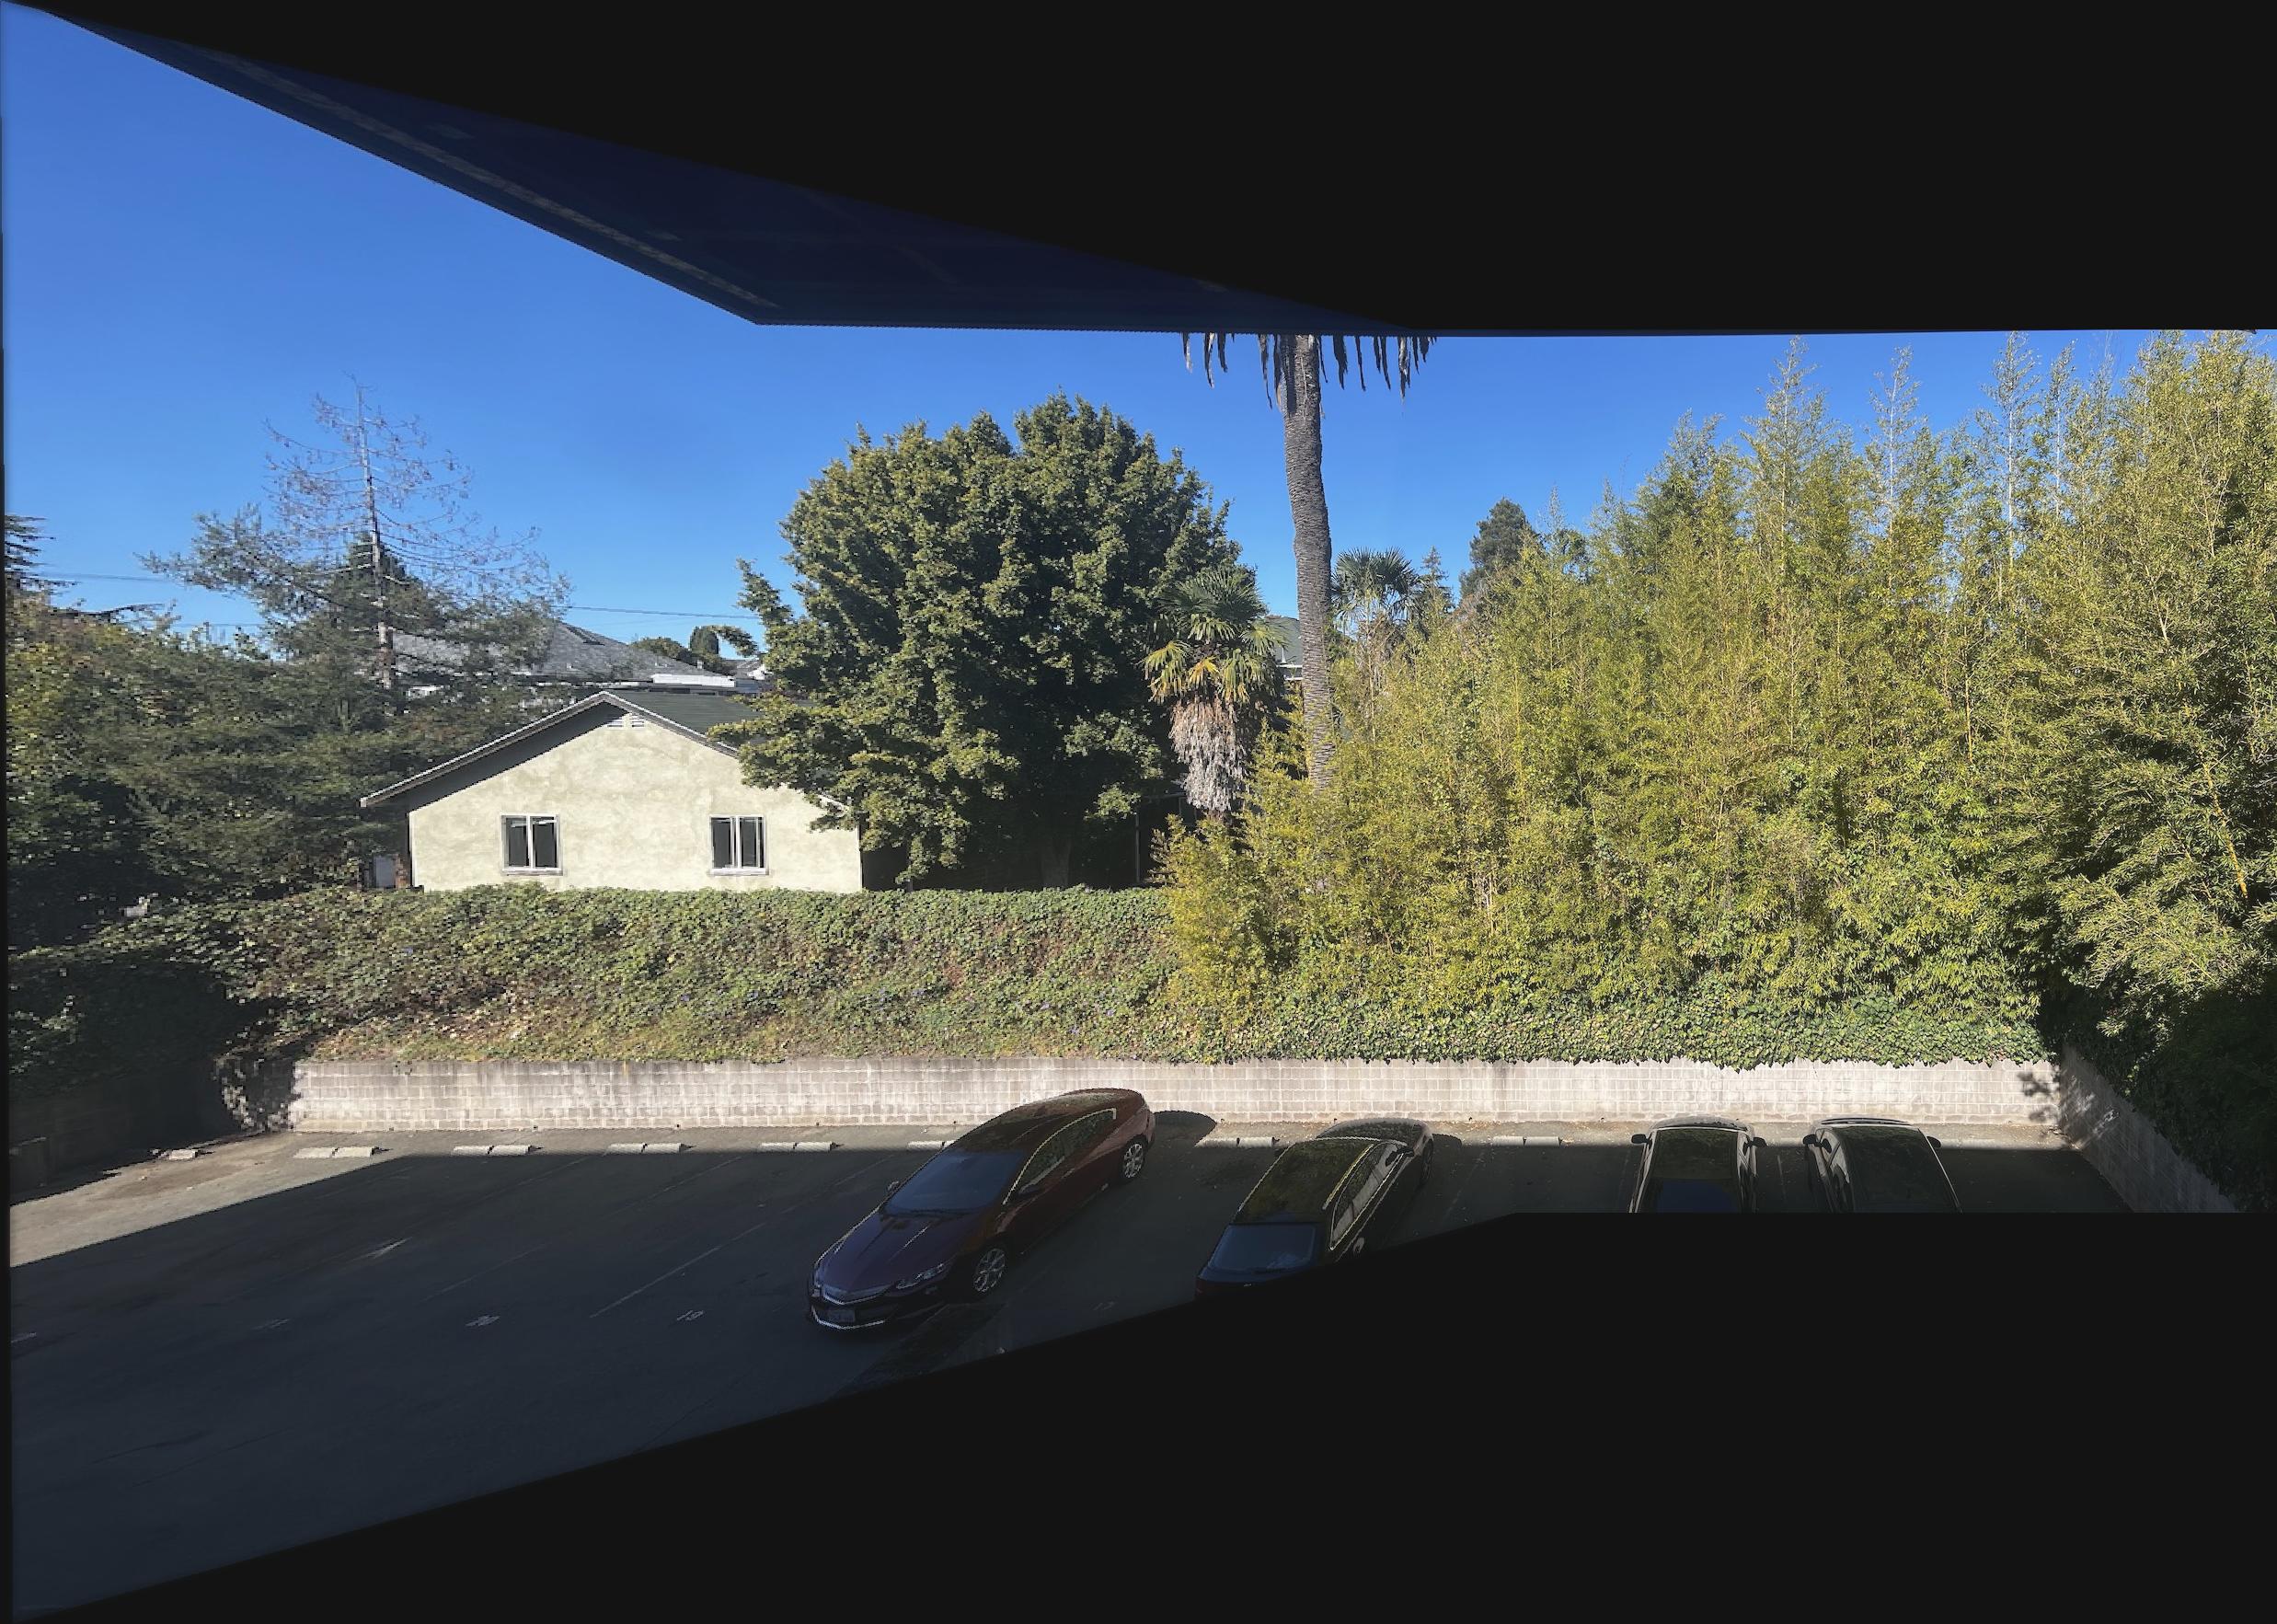
Final Result


Final Result - Comparison Between Manual and Automatic Image Stitching

Manually Stitched

Automatically Stitched

Manually Stitched

Automatically Stitched

Manually Stiched

Automatically Stitched


Conclusion

I believe the coolest thing I learned in this project was about implementing automatic image stitiching. Building up to it made me appreciate and understand the benefits of automatic stitching. I also found it cool that we reused parts/tools from earlier in the semester. It showed me how fundamental some of the concepts we learned are.
To me this project was very interesting because there are so many edge cases -- the slightest change in an image, or parameter can throw off the entire panorama. I'll definitely coming back to this project to take a deeper dive in how to make it more robust. I feel as though there are many ideas I can pull from the earlier projects that will help here especially in image processing.